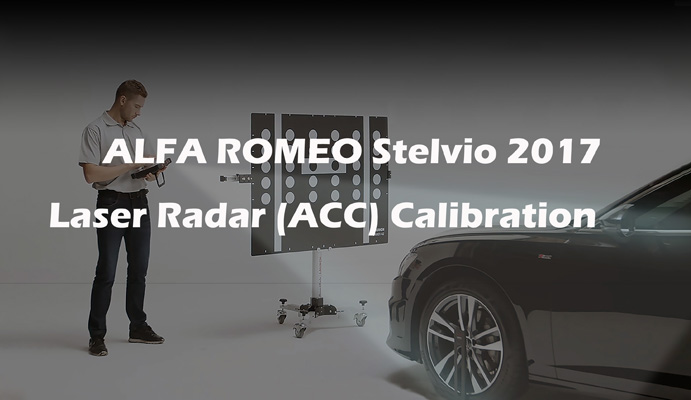
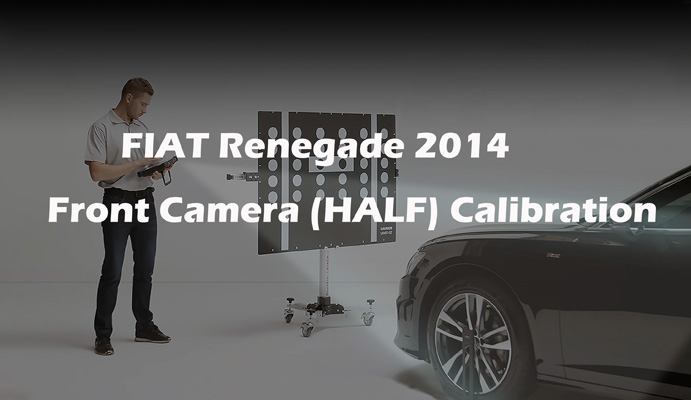
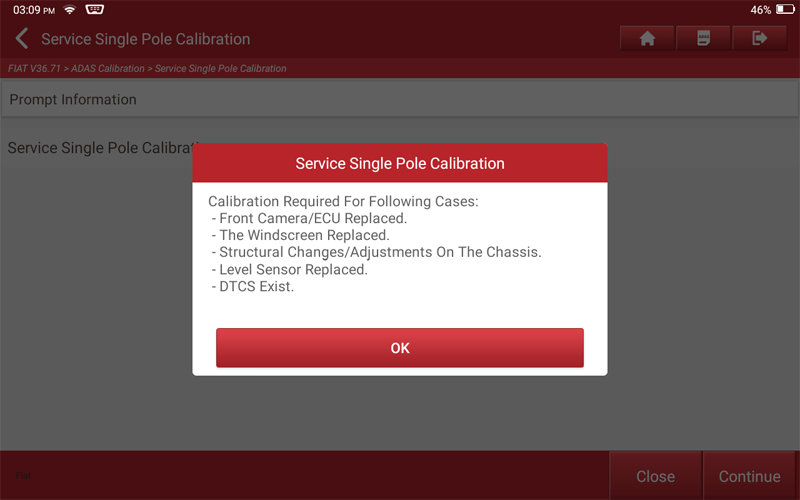
The function of front camera calibration needs to be performed in the following cases
Operation guide:
1. Automatically identify the model Stelvio through the ADAS calibration entrance VIN (If it is not recognized, the corresponding menu will be displayed, select manually and enter).
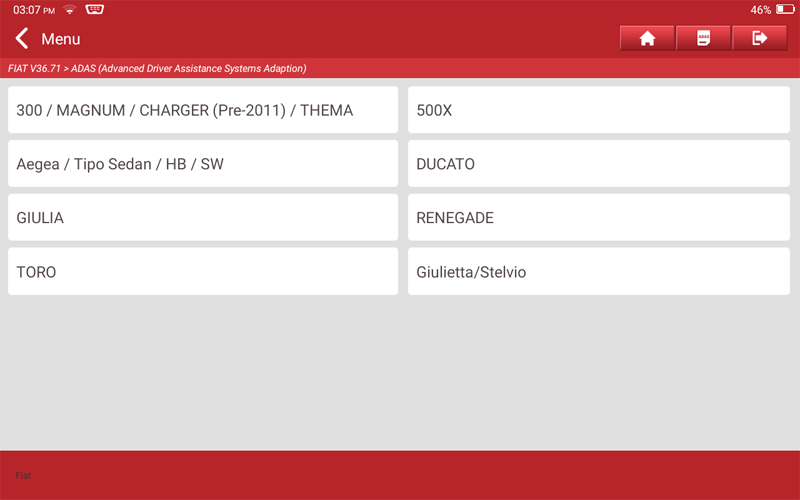
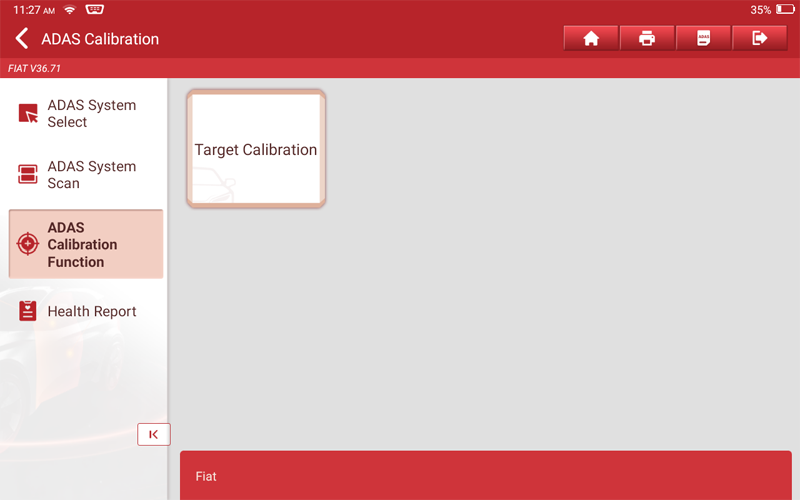
2. After selecting “ADAS Calibration Function”, click “Front Camera Calibration”.
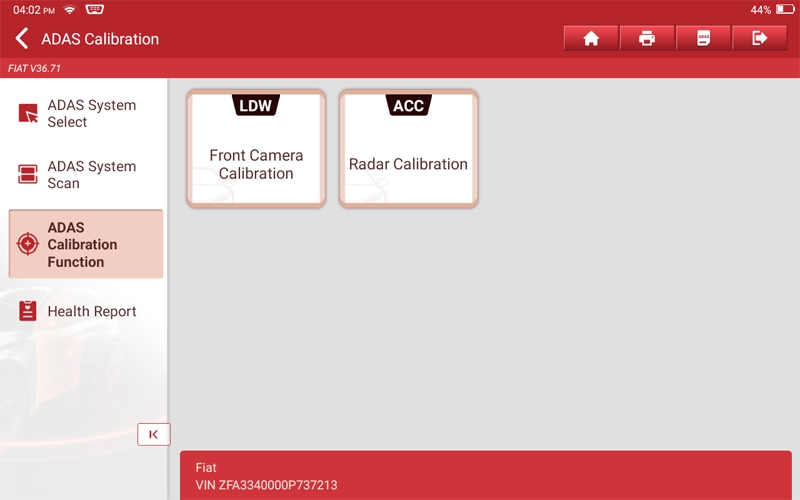
3. Select “Target Calibration”.
4. Situations where the current function needs to be performed.
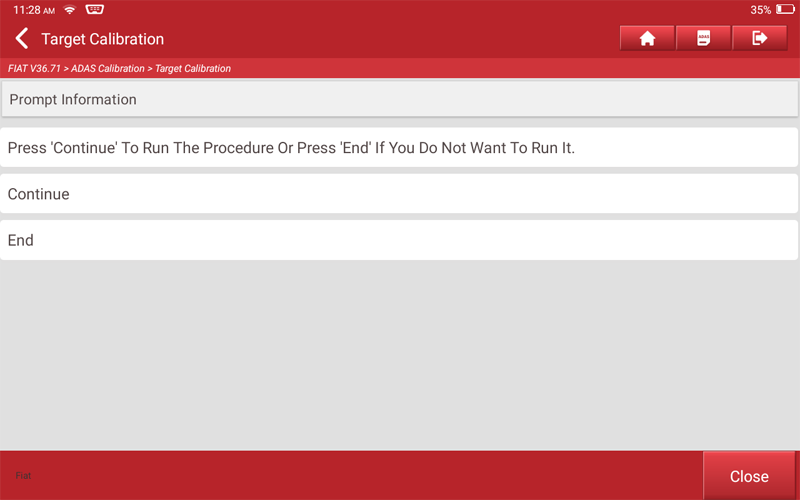
5. Click “Continue” to execute the next step.
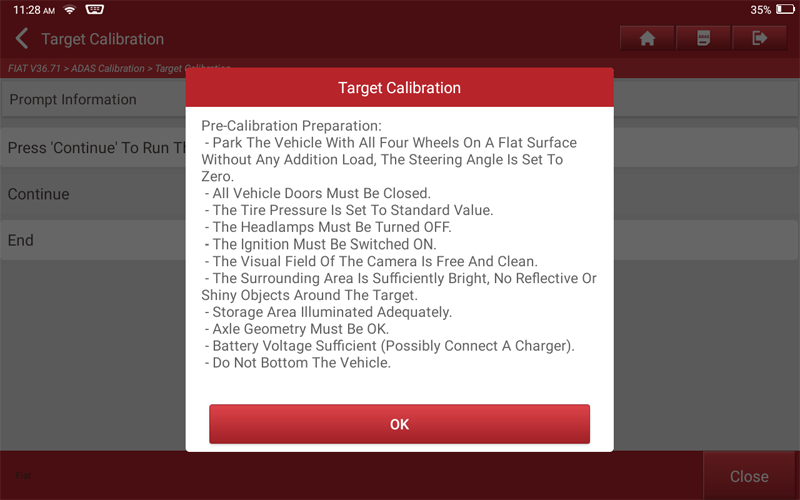
6. Preparations required to perform the current function.
7. Follow the prompts, after the operation is complete, click “Next Step”.
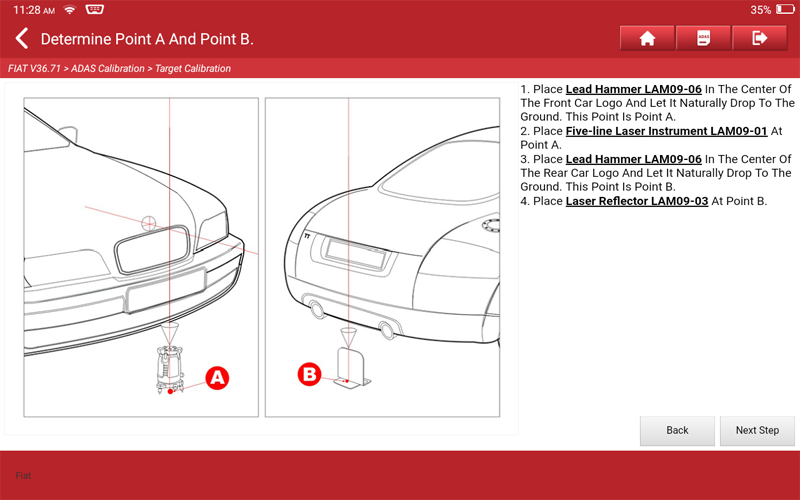
8. Follow the prompts, after the operation is complete, click “Next Step”.
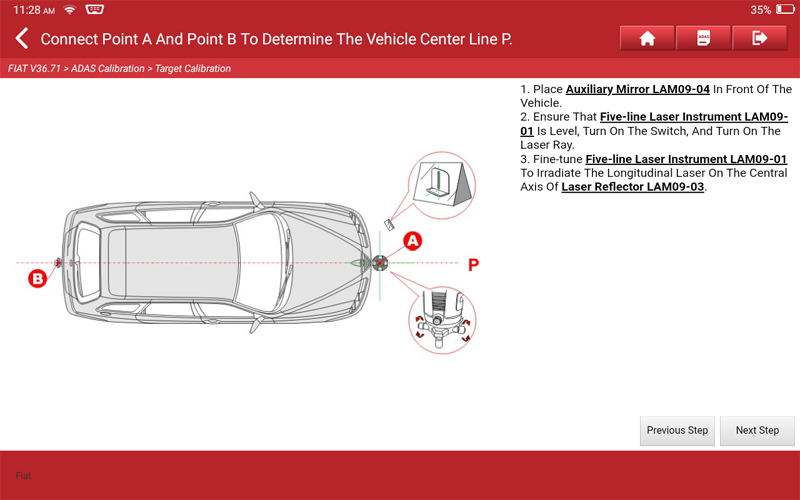
9. Follow the prompts, after the operation is complete, click “Next Step”.
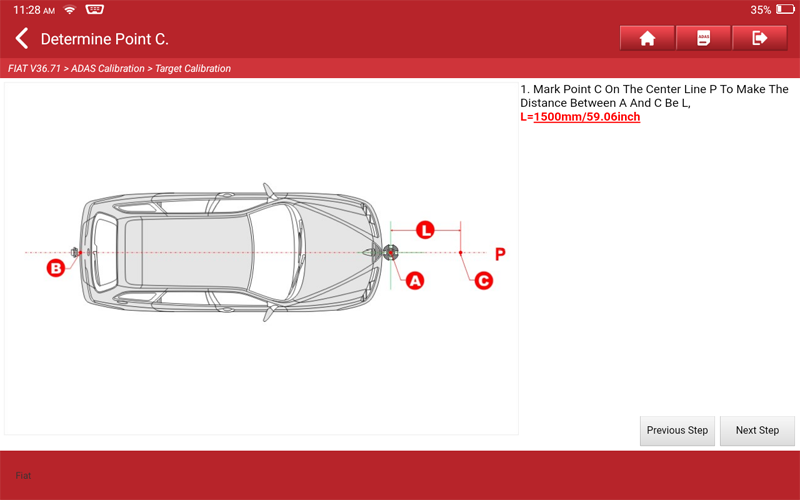
10. Follow the prompts, after the operation is complete, click “Next Step”.
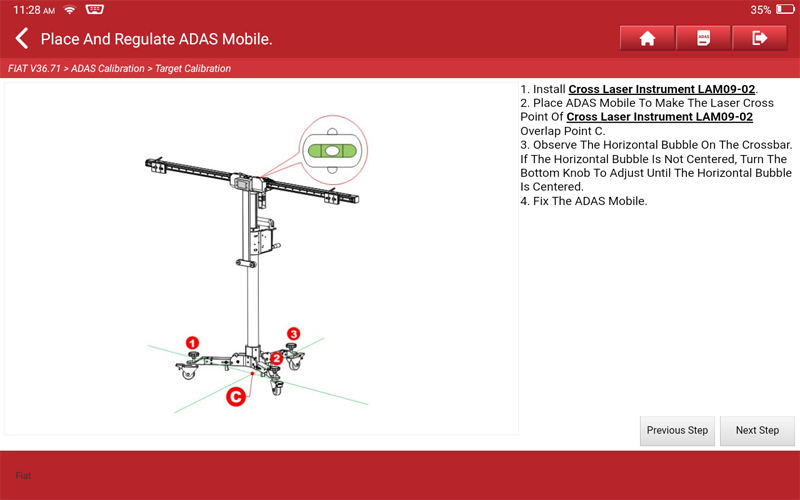
11. Follow the prompts, after the operation is complete, click “Next Step”.
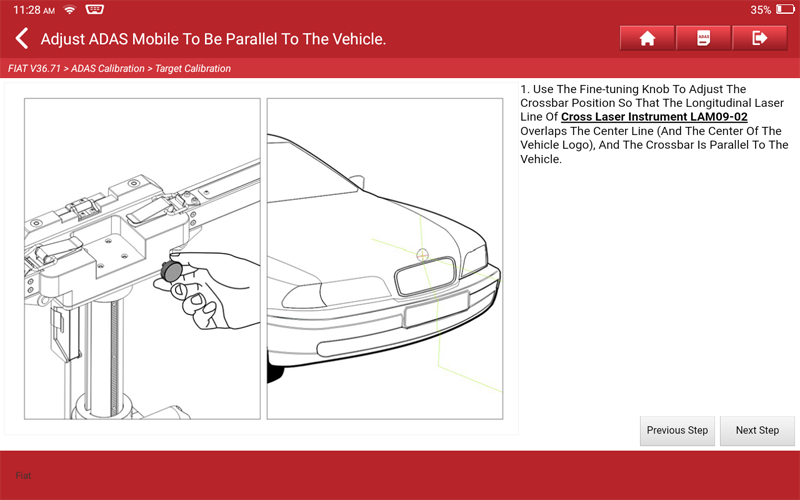
12. Follow the prompts, after the operation is complete, click “Next Step”.
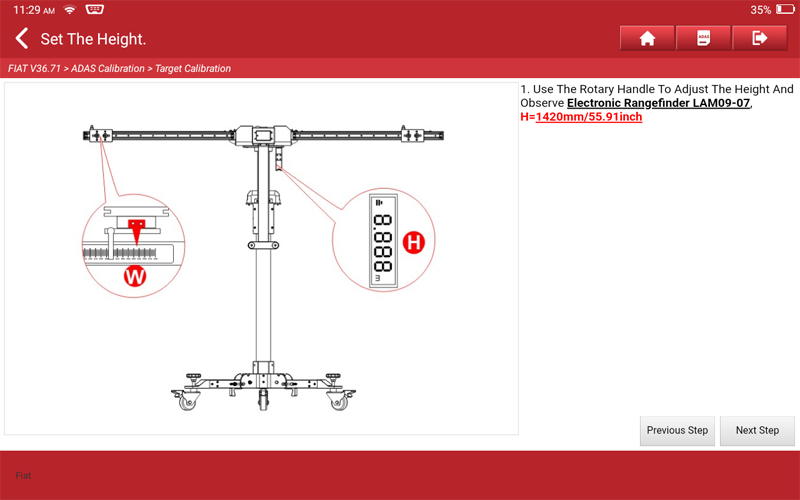
13. Follow the prompts, and after the operation is complete, click the “Calibration” button to execute the calibration function.
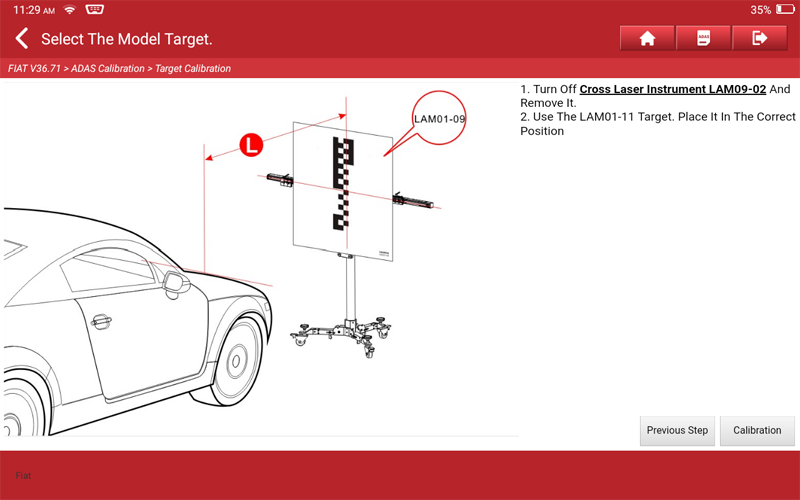
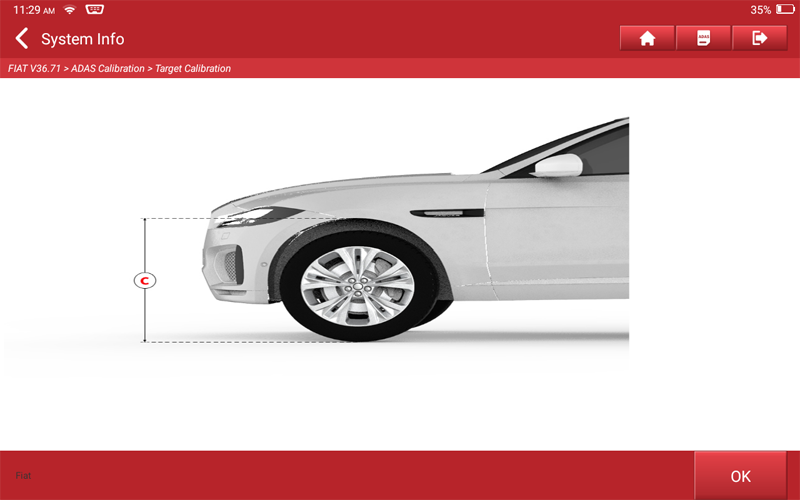
14. Clicking on "Picture" will display a demonstration of measuring the tire height, and clicking on "Next Step" will execute the next step.
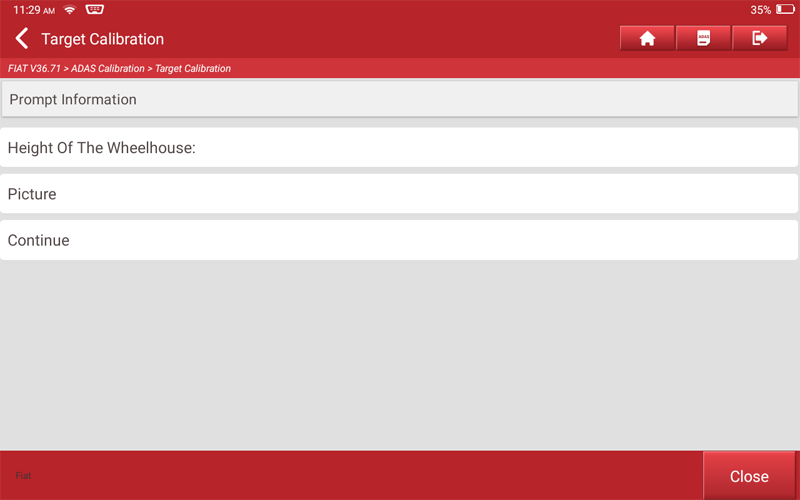
Tire Height Demonstration.
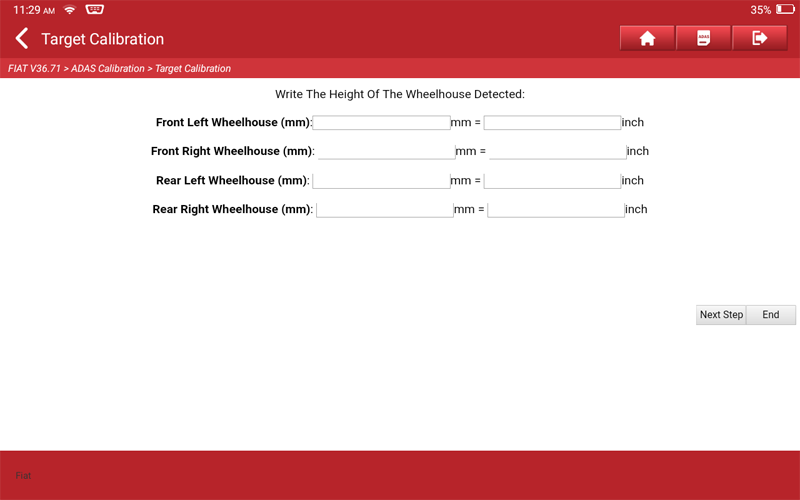
15. According to the prompt, input the height of the four tires (input the metric system in the front box, and the imperial system in the back box, and the unit of the other side will be automatically displayed when inputting one side), and click "Next Step" after the input is completed.
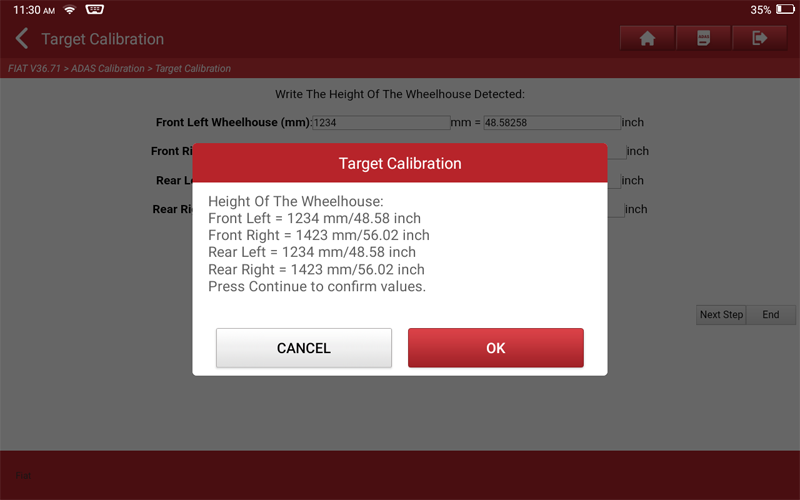
16. Display the tire height entered in the previous step, click "OK" after confirming that it is correct, and proceed to the next step.
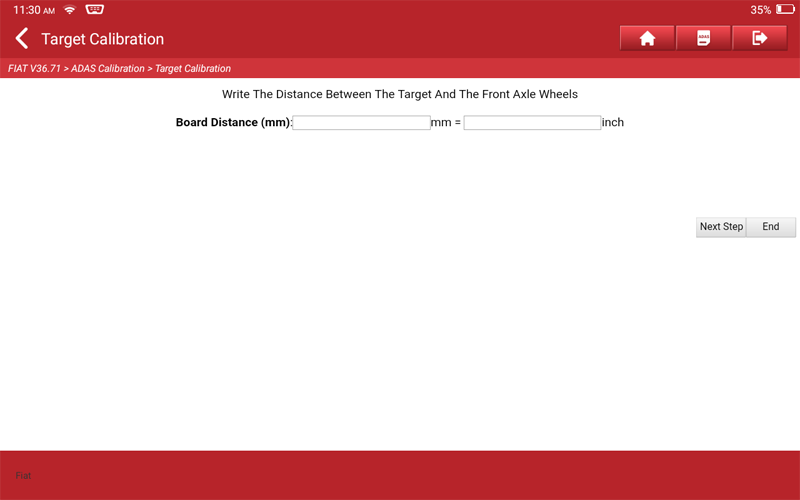
17. Follow the prompts, enter the distance from the target, and click “Next Step”.
18. Calibration is complete.
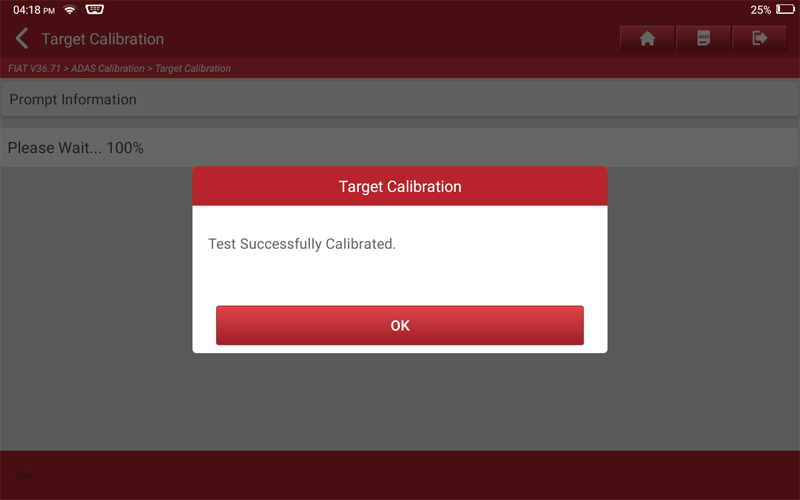
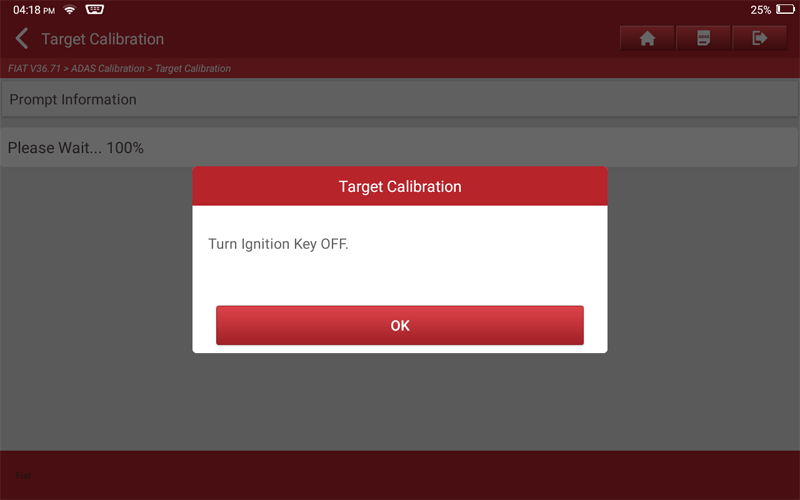
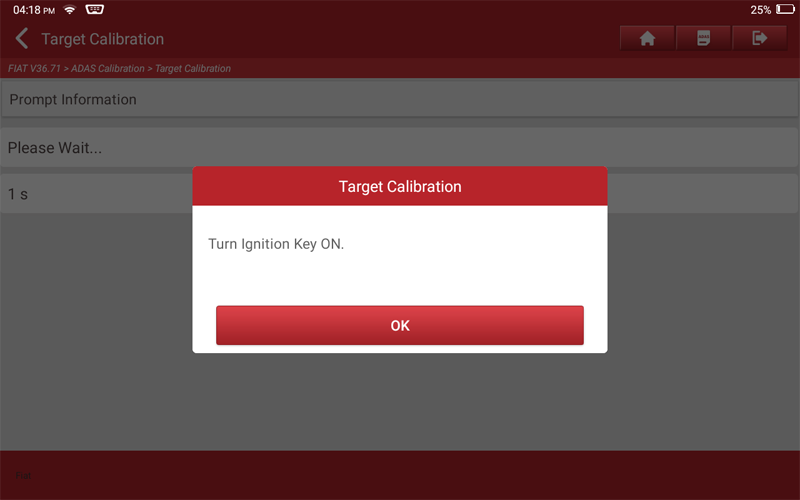
19. Turn off the ignition, wait for the progress bar (or countdown) to end, and then turn on the ignition.
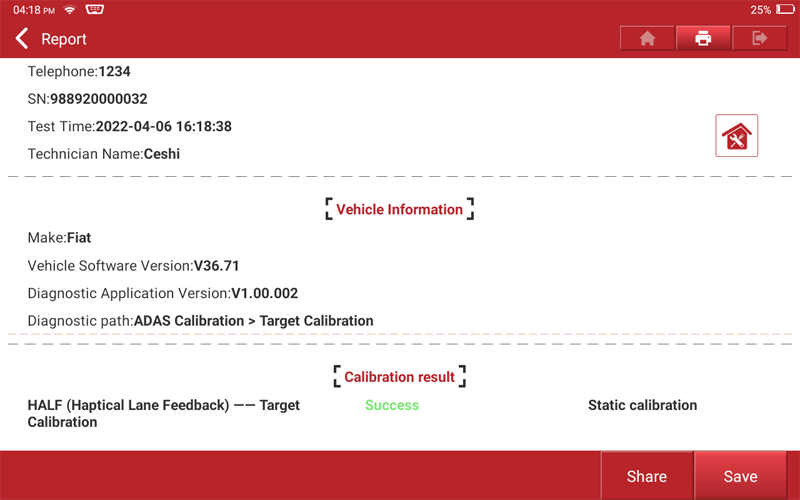
20. Print the report information after calibration.
Return
