2012-2020 X-Trail, Sylphy, Qashqai, Bluebird, Teana, Patrol, Tiida, Sunshine, Infiniti Q50, Infiniti QX50, Infiniti Q60, Infiniti QX60, Infiniti Q70, Infiniti QX70, and other models.
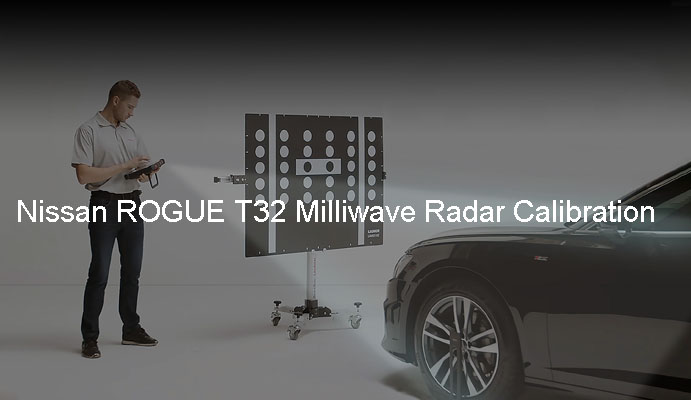
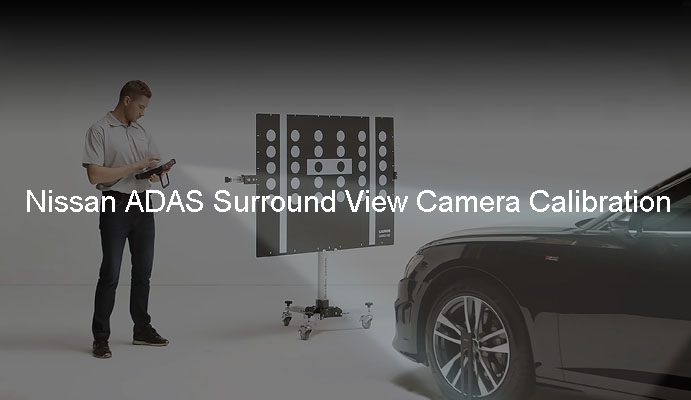
Lane camera system
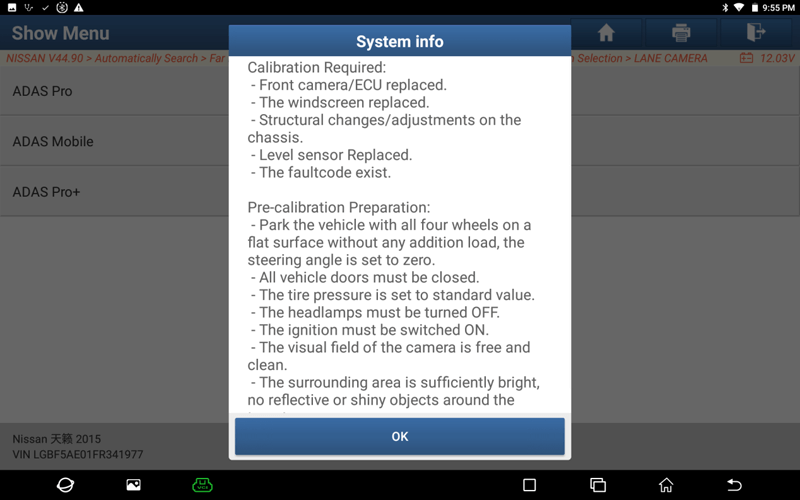
Calibration is required when:
① Replace the front camera;
② Replace the front camera ECU module;
③ Replace the front windshield;
④ Adjust the chassis;
⑤ There are relevant fault codes.
⑥ The light on the field is bright enough, and there are no reflective objects around the target.
2015 TEANA, VIN code: LGBF5AE01FR341977
1. Turn on the ignition switch of the car, select the NISSAN model software, V44.70 and above, and enter the following menu interface.
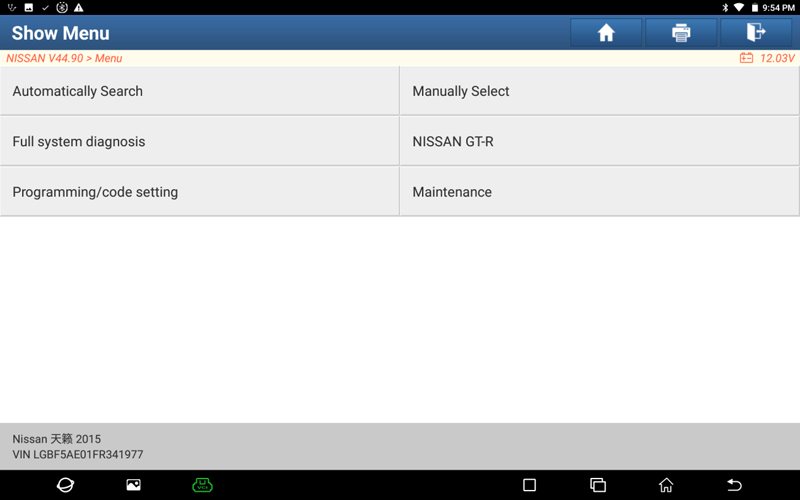
2. Select [Automatically Search], and display the model information after entering.
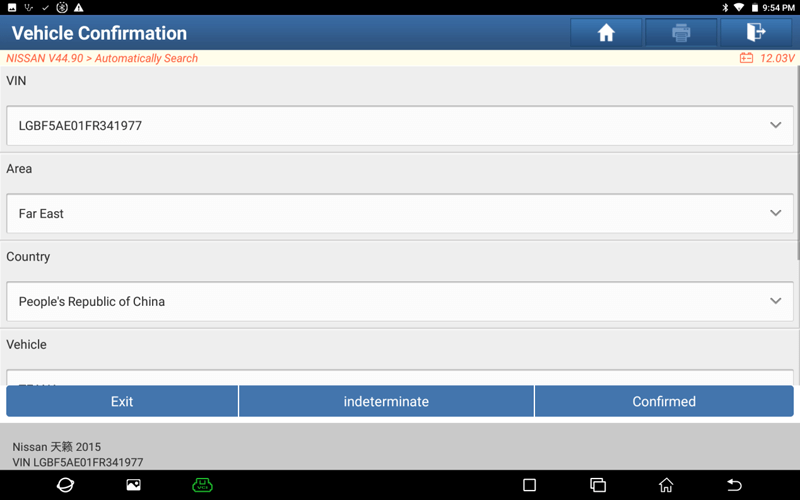
3. Select [Confirmed], and enter the following menu interface.
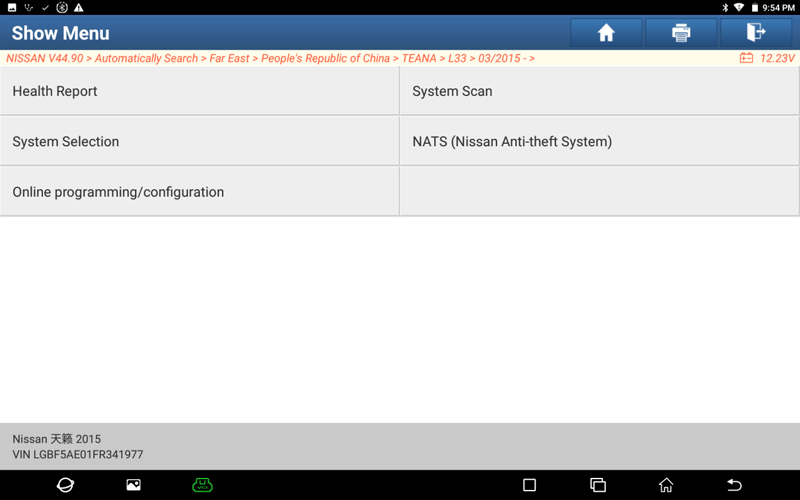
4. Select [System Selection], and display the system of auto model.
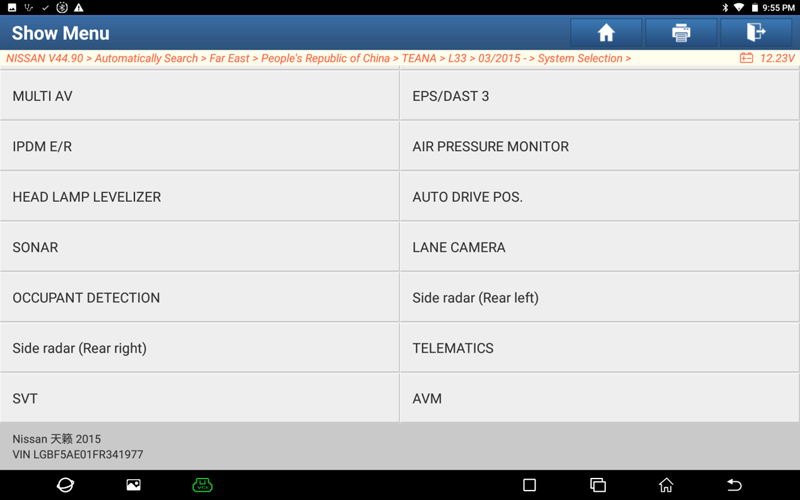
5. Select [LANE CAMERA] to enter the system.
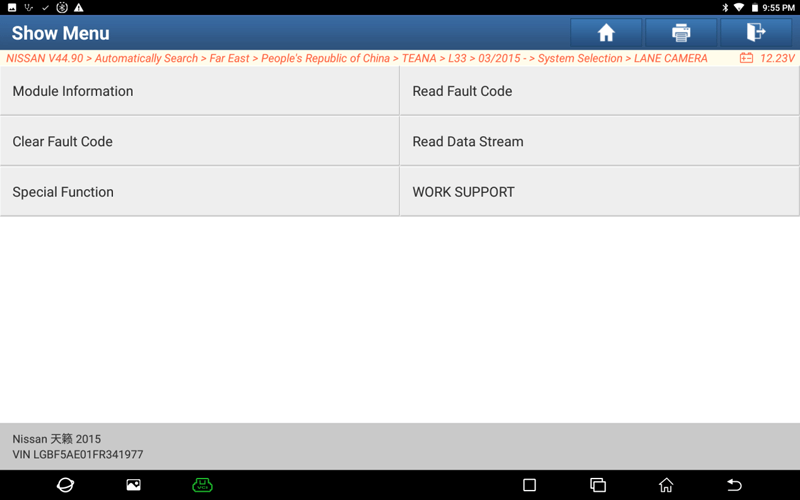
6. Select [Special Function] menu.
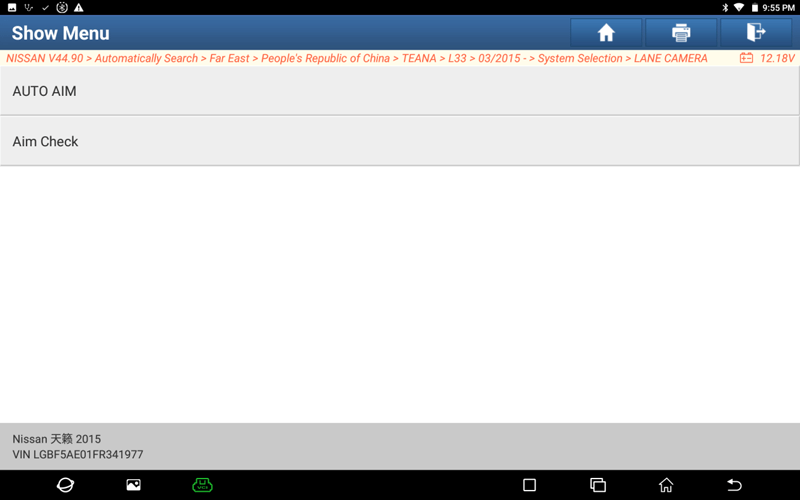
7. Select [AUTO AIM].
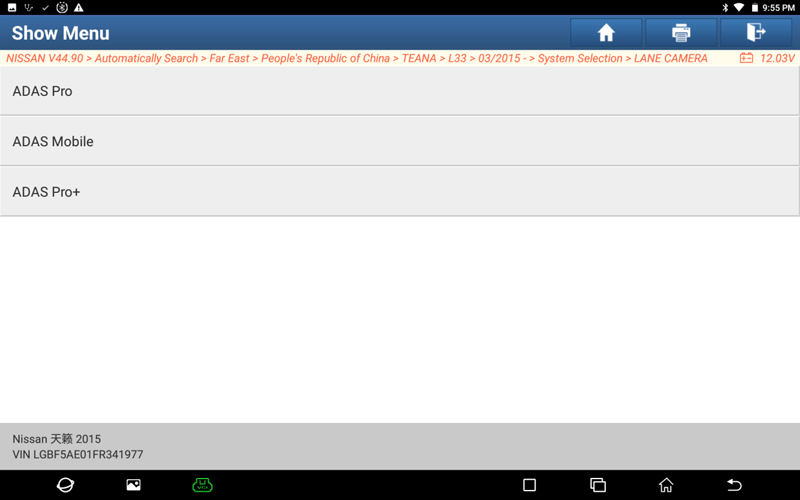
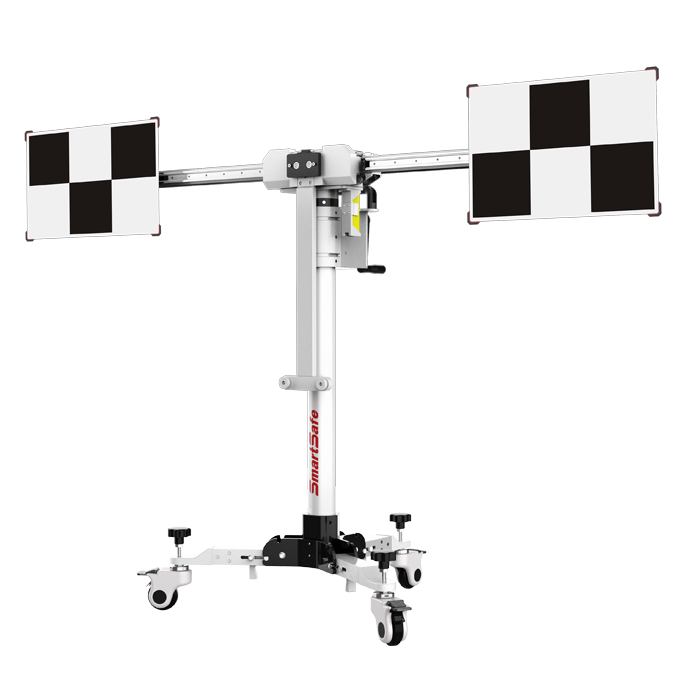
8. If the target is type of ADAS Mobile, select [ADAS Mobile] menu.
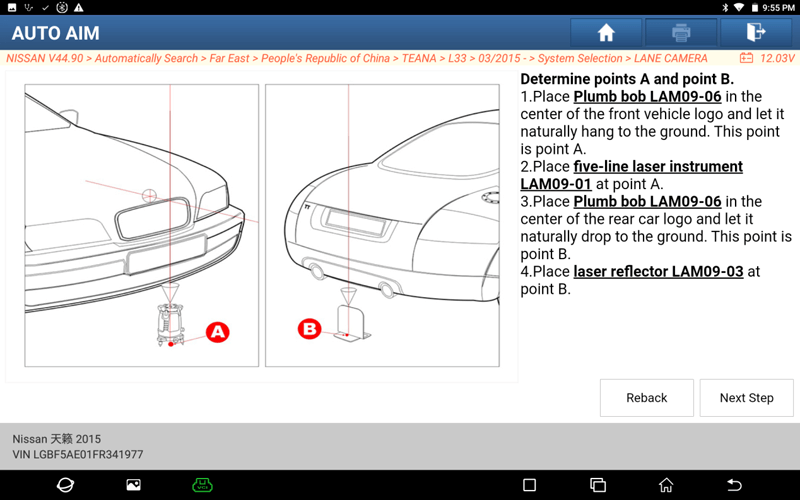
9. Select [OK], and confirm point A and point B.
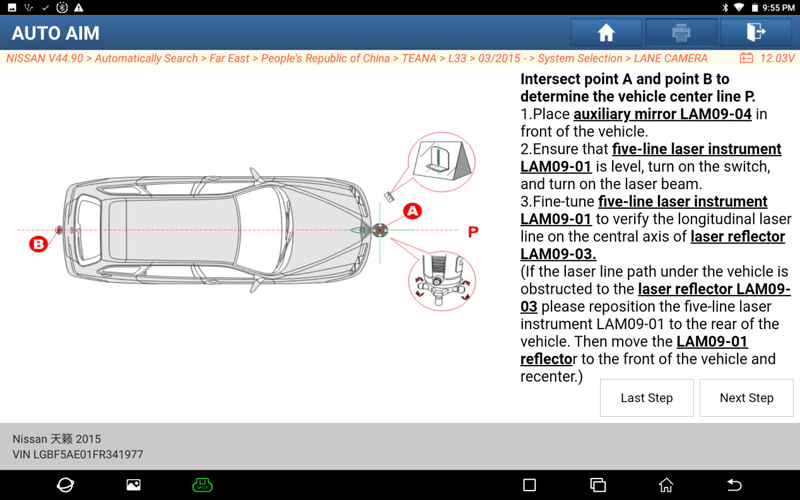
10. Select the [Next Step], connect point A and point B with the laser, and determine the centerline P of the vehicle.
11. Click the [Next Step], and measure the distance between the target and the vehicle.
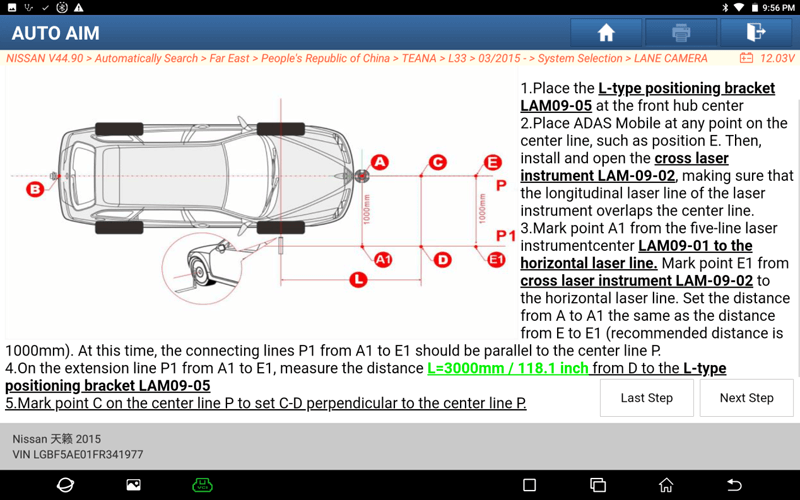
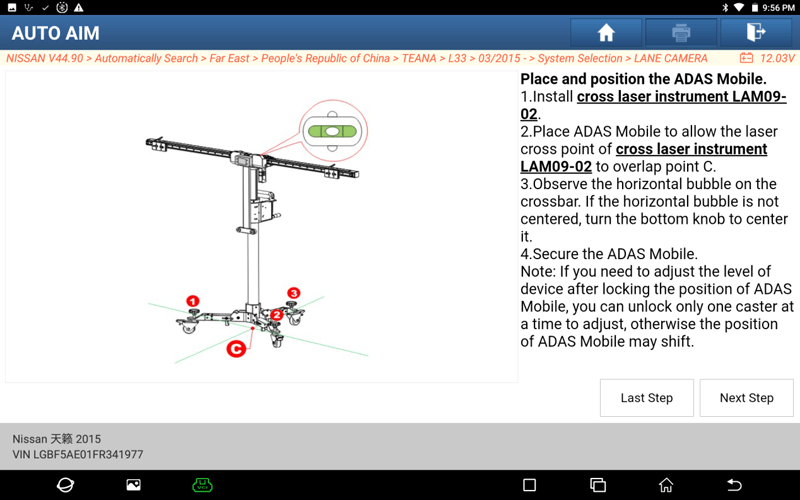
12. Click [Next Step], and determine the target position.
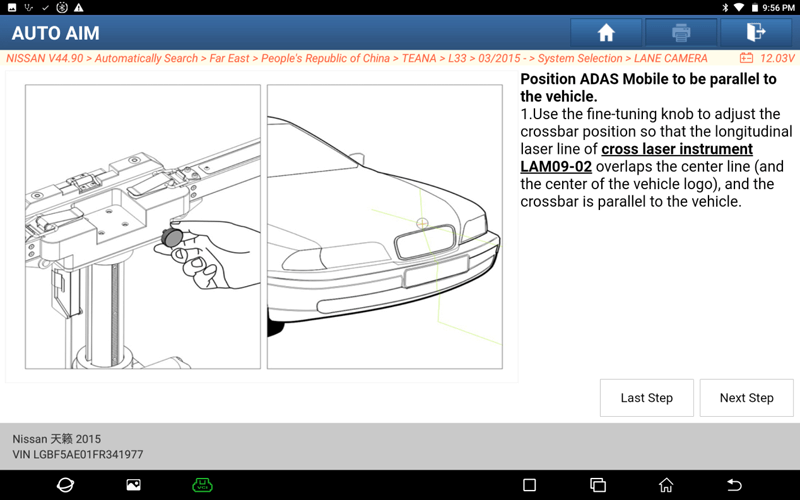
13. Click [Next Step], and adjust ADAS Mobile parallel to the vehicle.
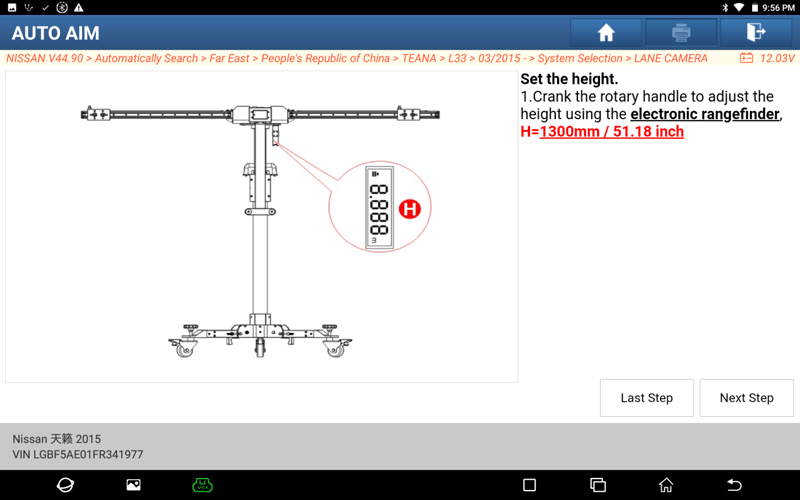
14. Select [Next Step], and adjust the target height.
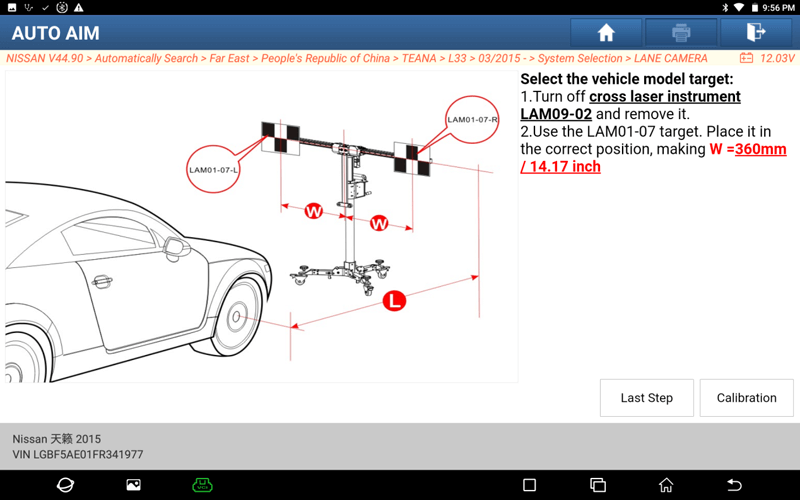
15. Select [Next Step], and determine the distance between the left and right targets. Select [Calibration].
16. Place the target, and enter the function to start calibration.
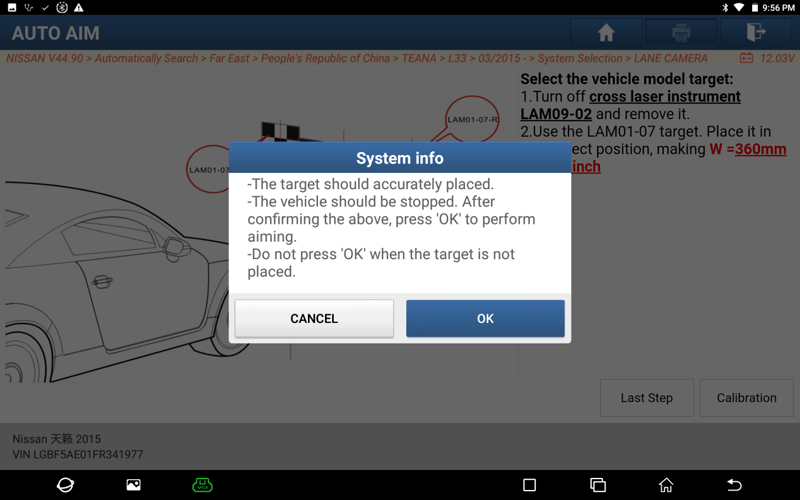
17. Select [OK] to display the calibration items.
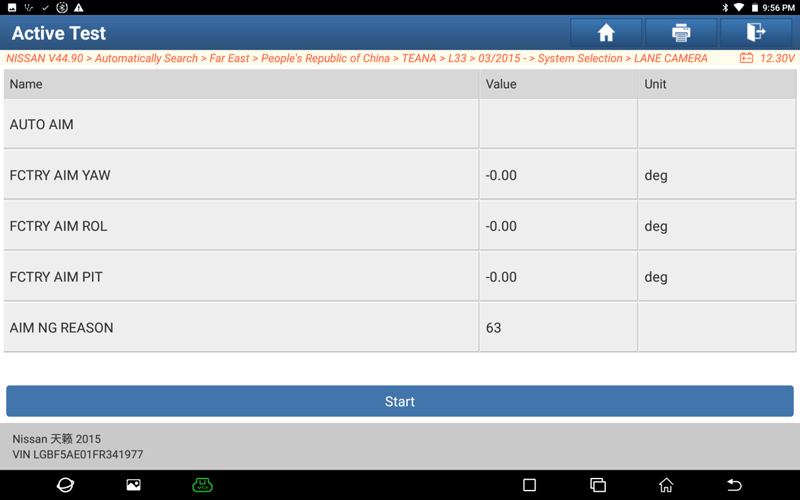
18. Click [Start], prompt to enter the range value of the data.
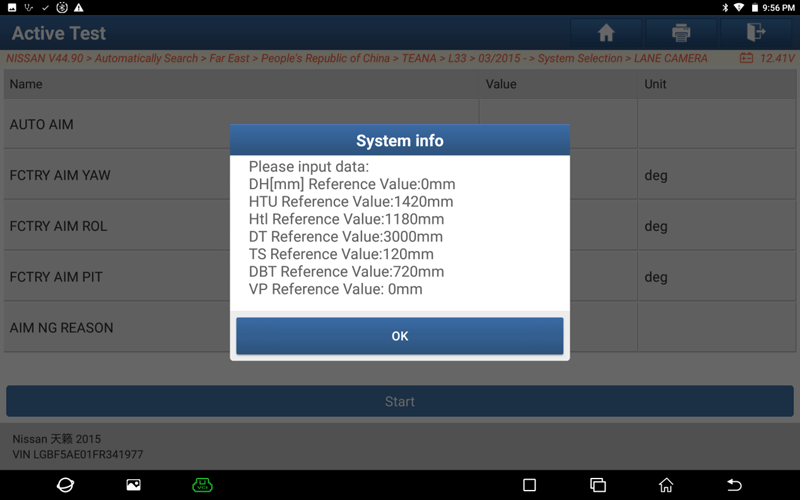
19. Select [OK], and enter the value of the prompt information.
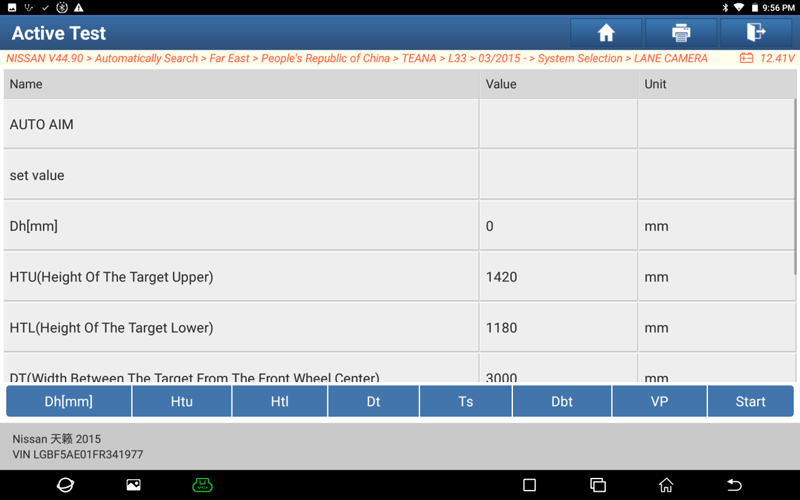
20. Select [Start], and complete the calibration.
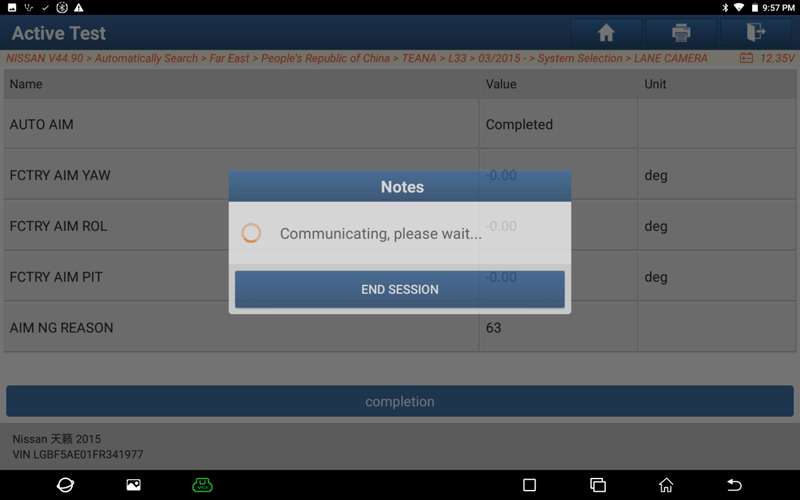
21. Select [ok], clear the fault code, and complete the calibration.

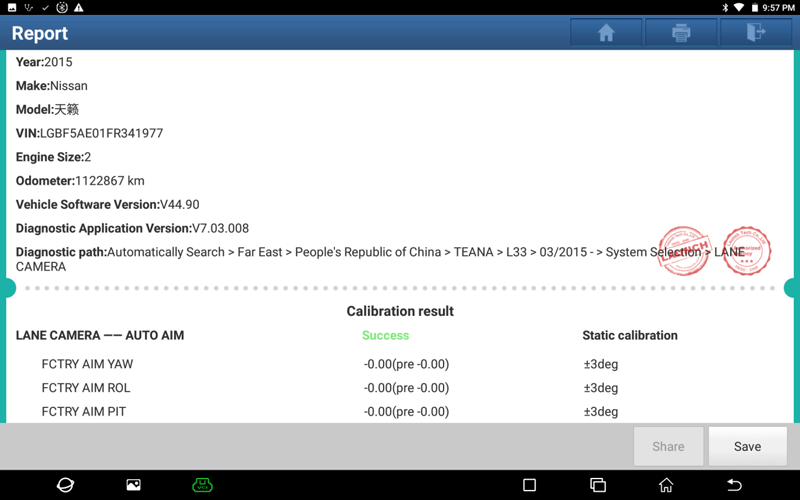
23. Save the diagnostic report.
Return


 VIEW All