When do you need to execute:
1. Radar sensor is loose or replaced.
2. Loose bumper bracket or replace.
3. Sensor locking bracket is loose or removed.
4. Wheel suspension geometry has changed.
5. The rear end inside the front of the vehicle receives an external force attack collision.
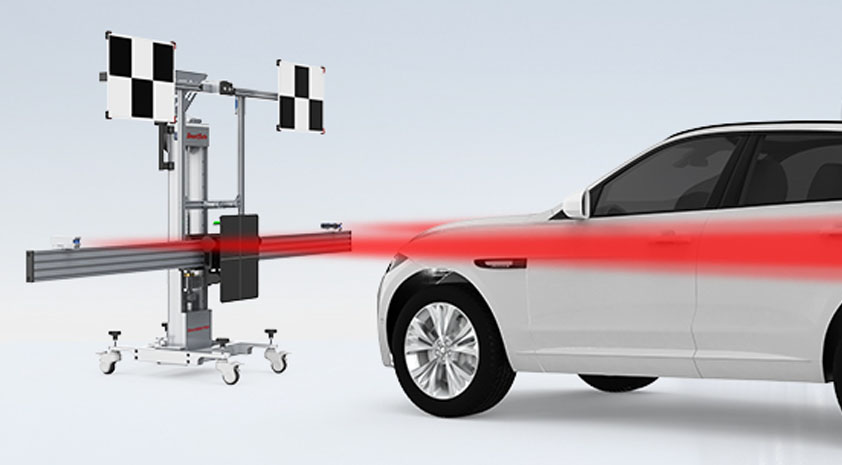
1. When performing milliwave radar adjustment, place the vehicle on level ground. The tire pressure and the four-wheel alignment are normal.
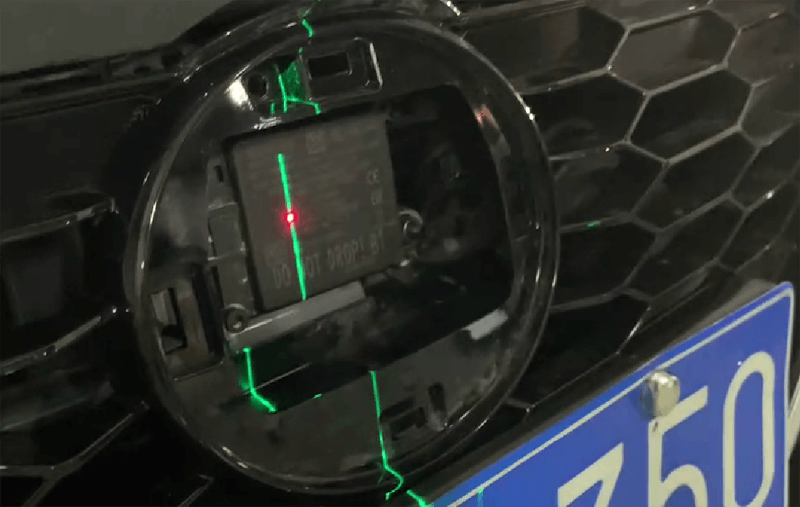
2. Remove the milliwave radar baffle.
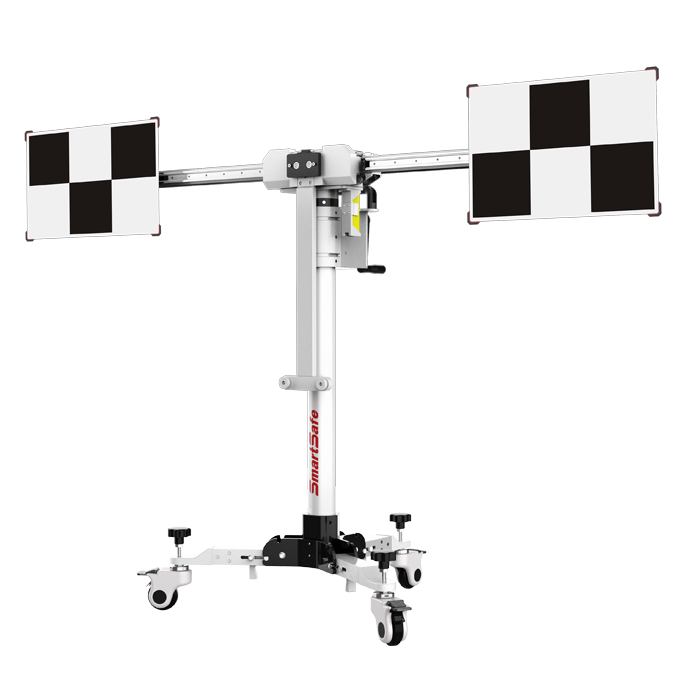
3. According to the prompt information, follow the steps to place the target correctly.
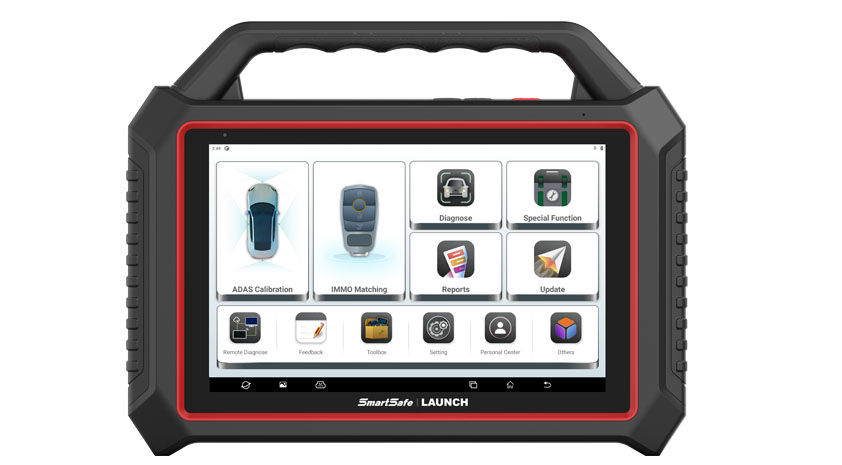
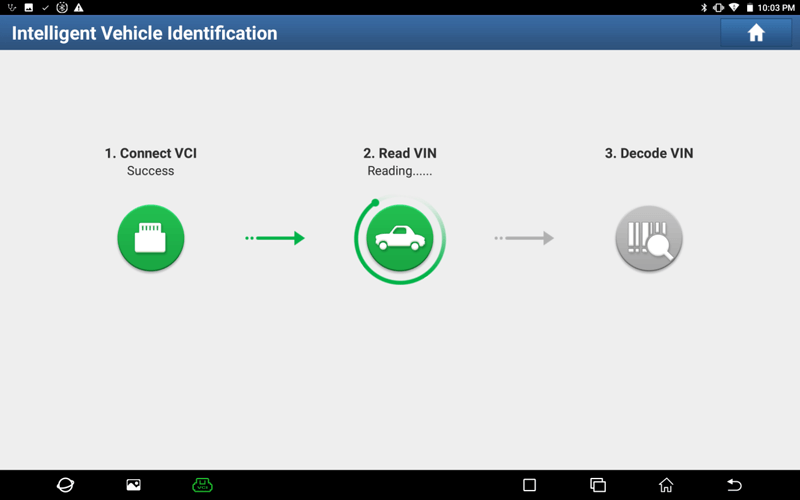
1. Select the [ADAS Calibration] to perform vehicle intelligent scanning.
2. Confirm vehicle information.
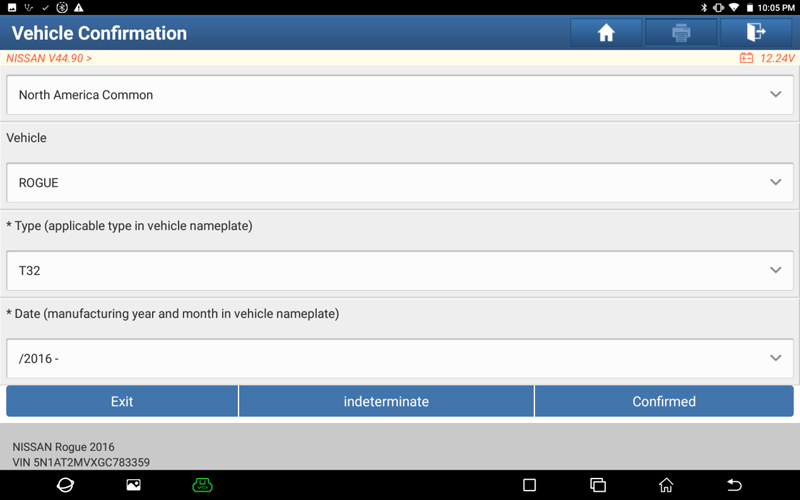
3. After confirming the model, click the [OK] to enter the following menu interface.
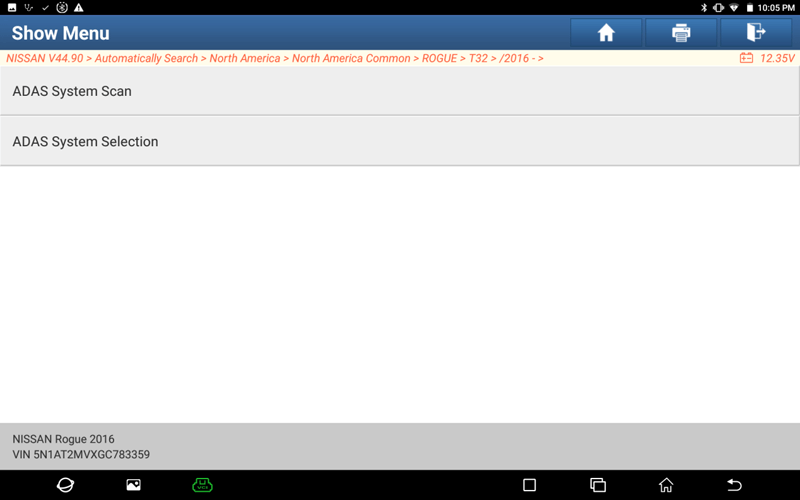
4. Select [ADAS system selection] to enter the following menu interface.
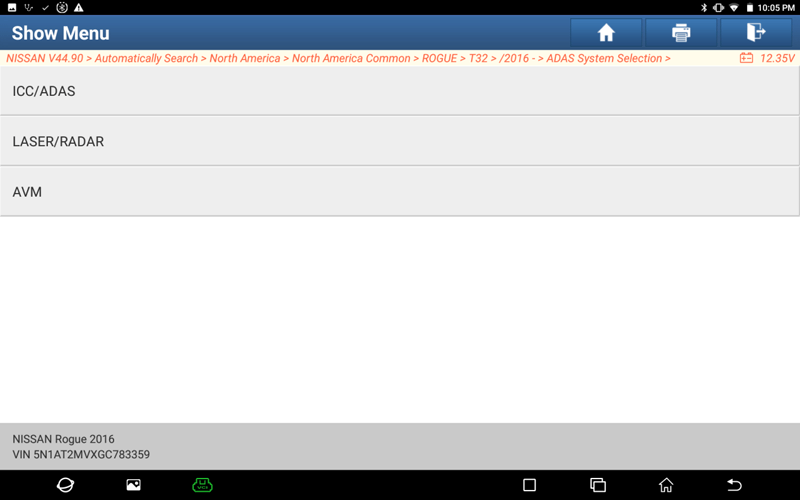
5. Select [Laser/Radar] system to enter the following menu interface.
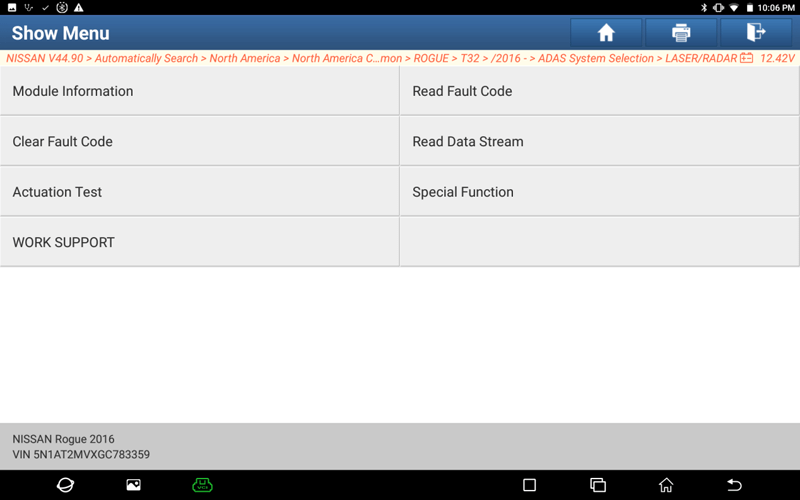
6. Select [Special Function].
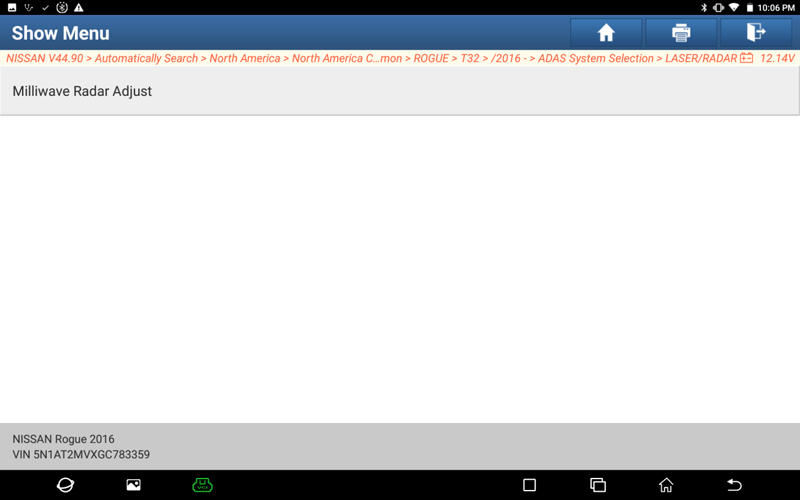
7. Select [Milliwave Radar Adjust].
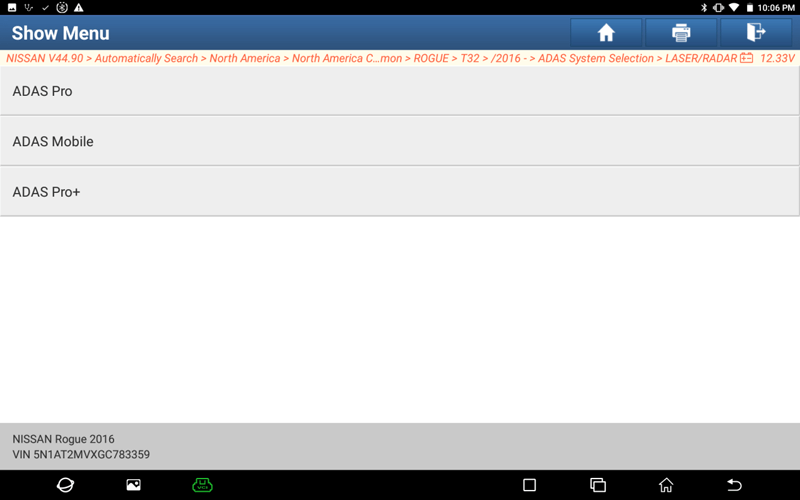
8. If the target is the type of ADAS Mobile, select [ADAS Mobile].

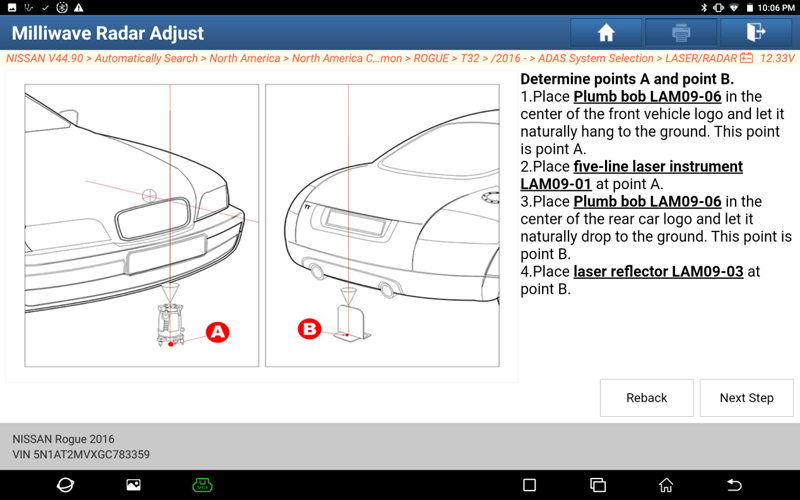
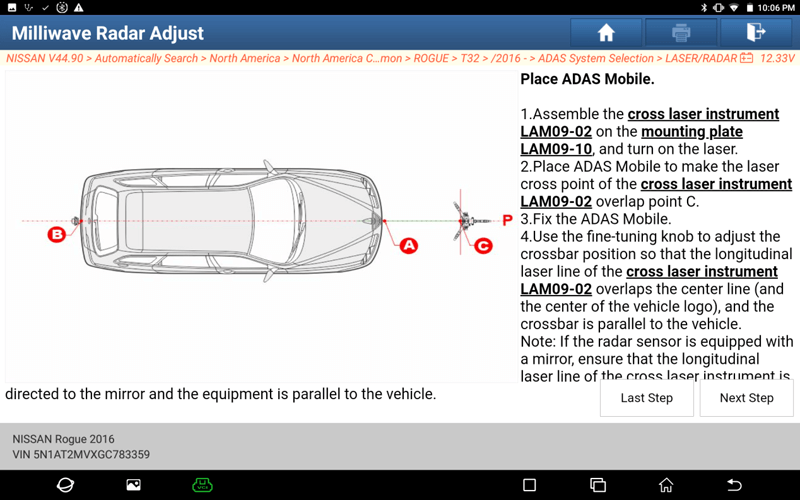
9. Select [OK], and confirm point A and point B.
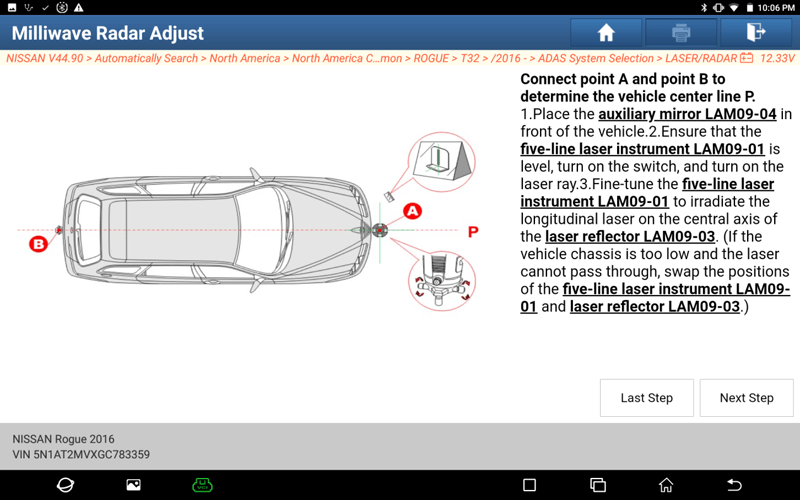
10. Select [Next Step], connect points A and B with the laser, and determine the centerline P of the vehicle.
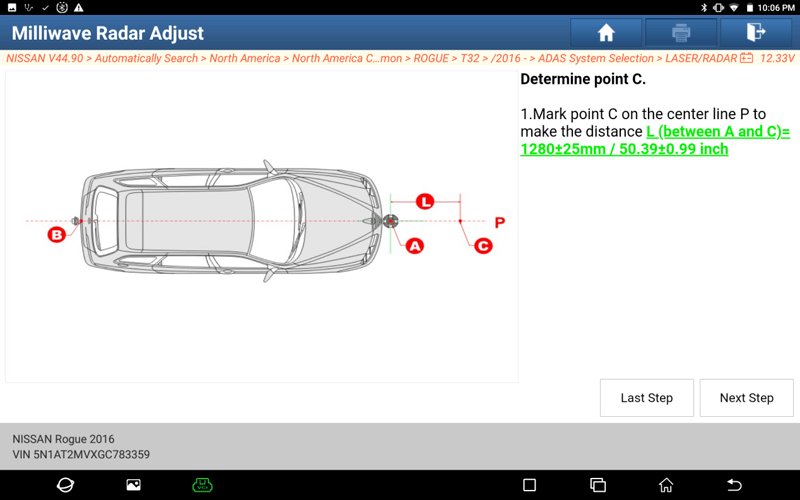
11. Select [Next Step], and confirm the mark point C on the center line.
12. Select [Next Step], and fix the mounting plate.

13. Select [Next Step] to determine the target position.
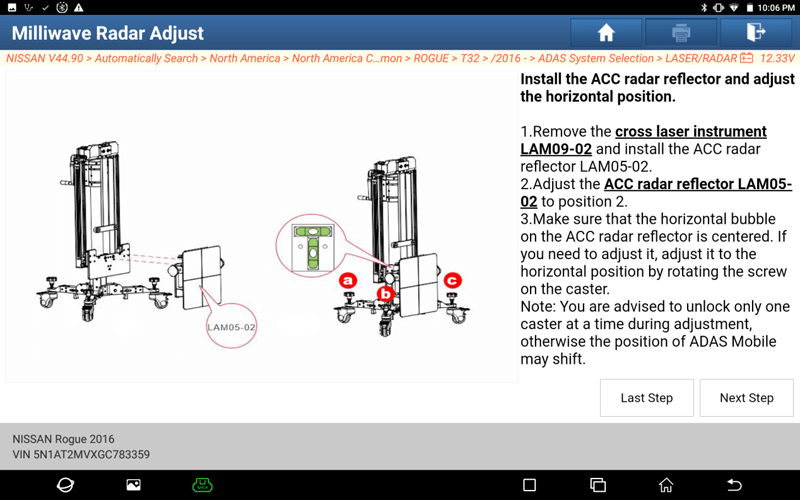
14. Select [Next Step], install the ACC radar reflector and adjust the horizontal position.
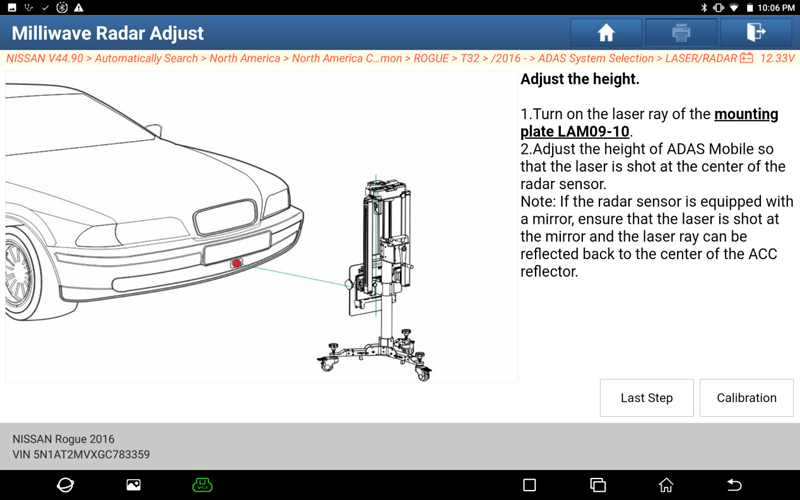
15. Select [Next Step], and adjust the target height.
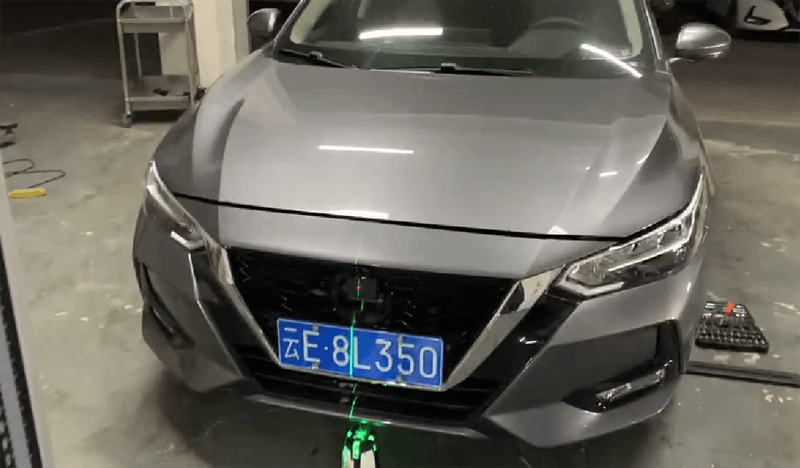
16. Place the target, as the picture shows.

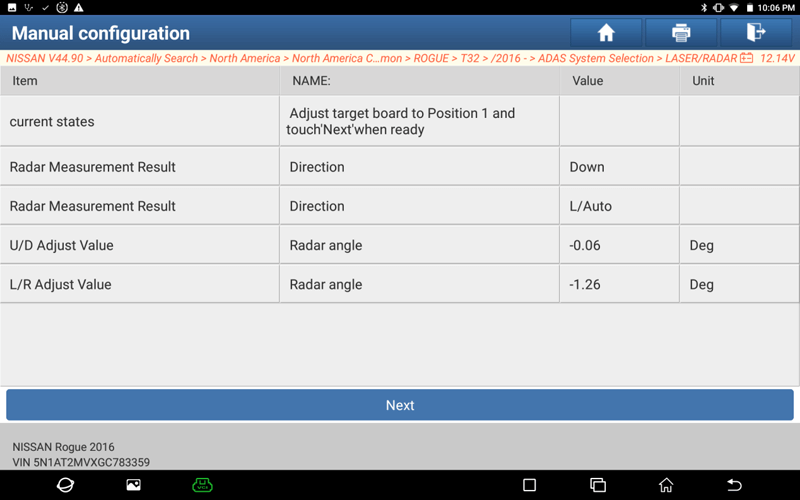
17. Select [Calibration], adjust the target board to position 1 and touch "Next" when ready.
18. Click [Next], adjust the target board to position 2 and touch "Next" when ready.

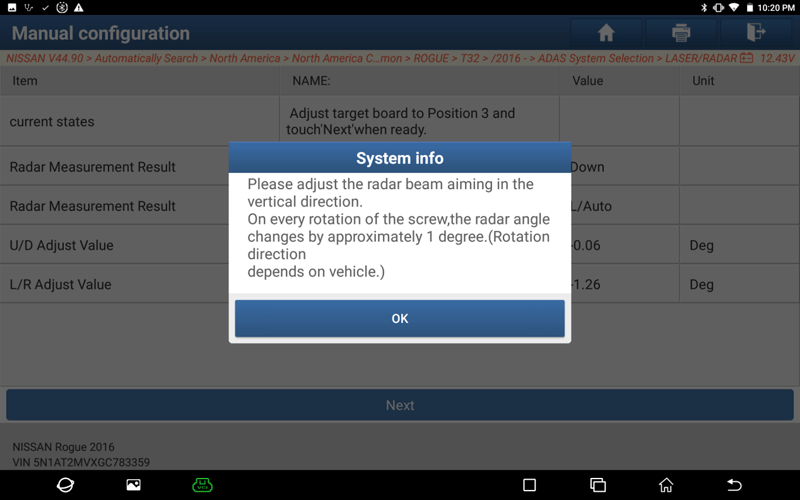
19. Click [Next], adjust the target board to position 3 and touch "Next" when ready.

20. After adjusting the target board, click [Next], and prompt the following information.
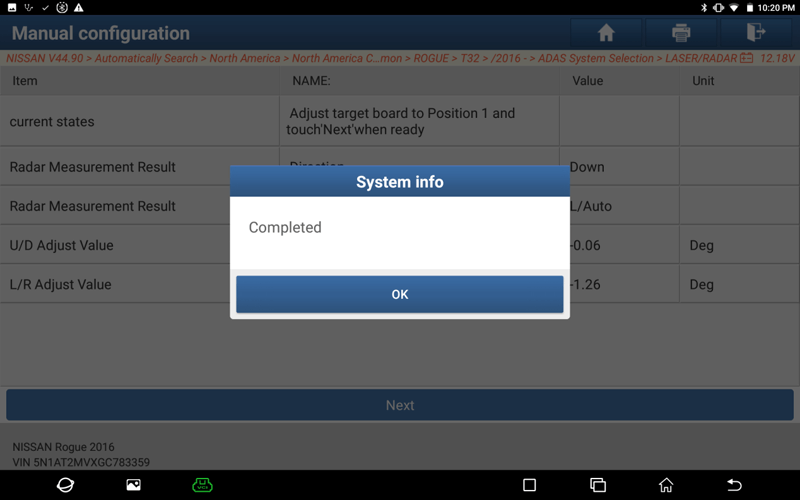
21. Click [OK], and show completed.
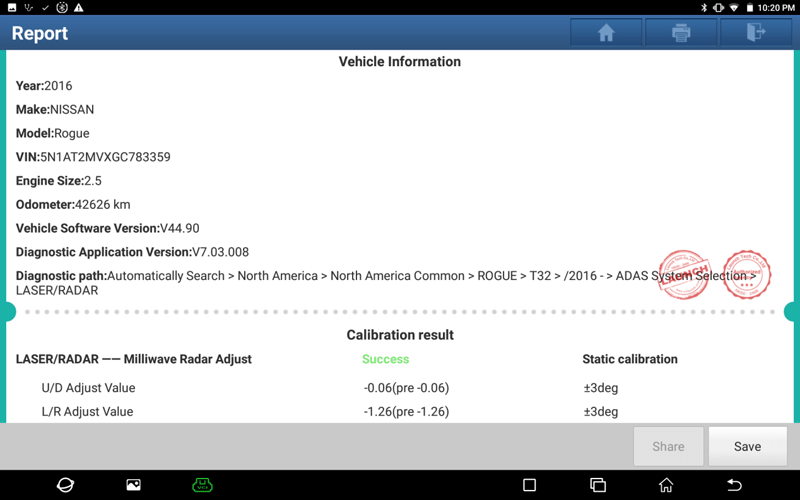
22. Save the ADAS diagnosis report.
Return


 VIEW All