Honda ELYSION, 2016 model, VIN: LHGR83839E********
(1) The vehicle has the following failure records (no or wrong basic settings/adaptation)
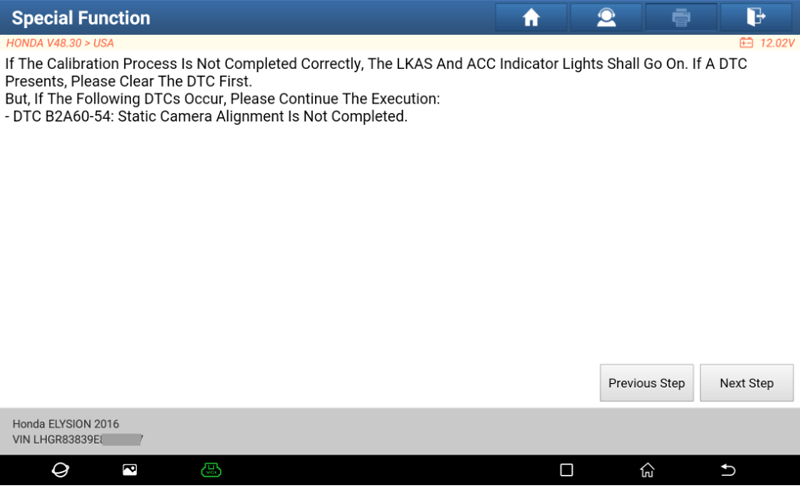
① B2A60-54 — Static camera alignment not done.
② B2A60-52 — Dynamic camera alignment not done.
(2) Vehicle parts are overhauled and replaced as follows:
① Removed or replaced the camera or replaced the windshield.
② Updated wheel damping electronics or one of the vehicle height sensors of the height control system.
① All fault memory entries not related to calibration must have been processed.
③ During dynamic alignment, it is necessary to keep driving at a speed of 72-110Km/h (45-70mph) and keep driving in the middle of the lane.
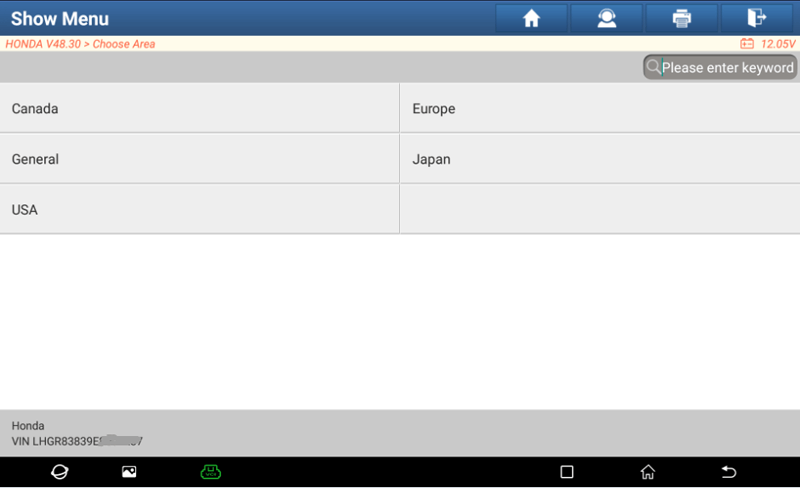
2. Enter the HONDA software, select the region "USA".
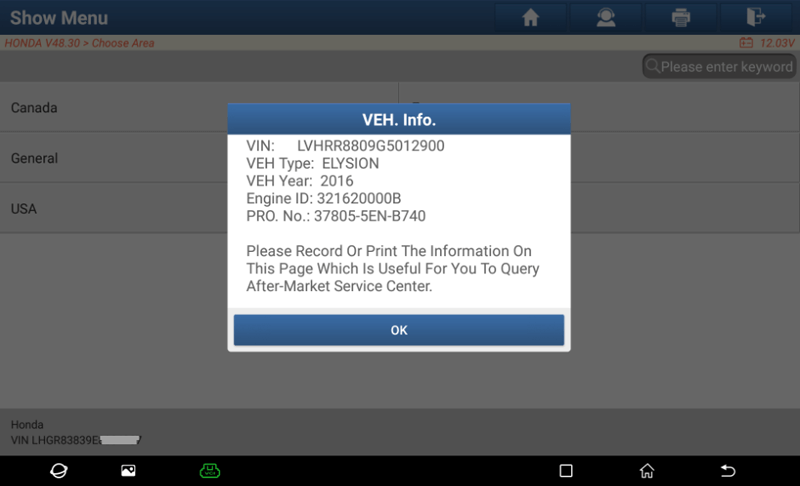
3. Get vehicle information.
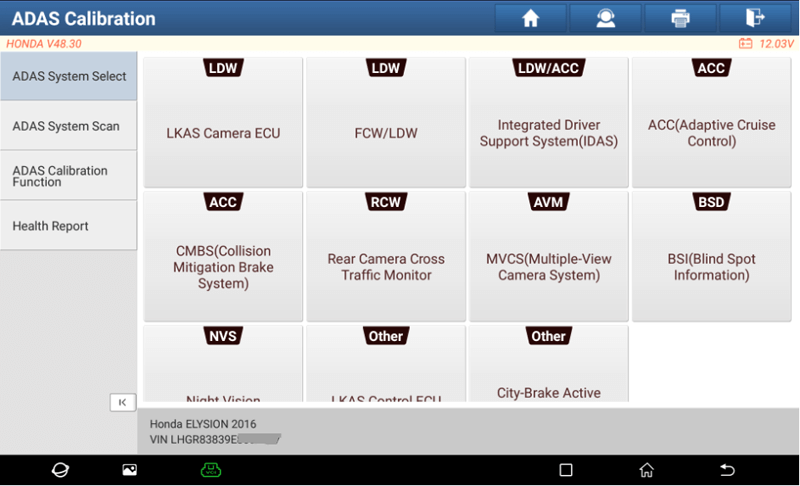
4. Click "OK" to enter the ADAS Calibration module.
5. Select the "ADAS Calibration Function'' sub-module to display the function interface.

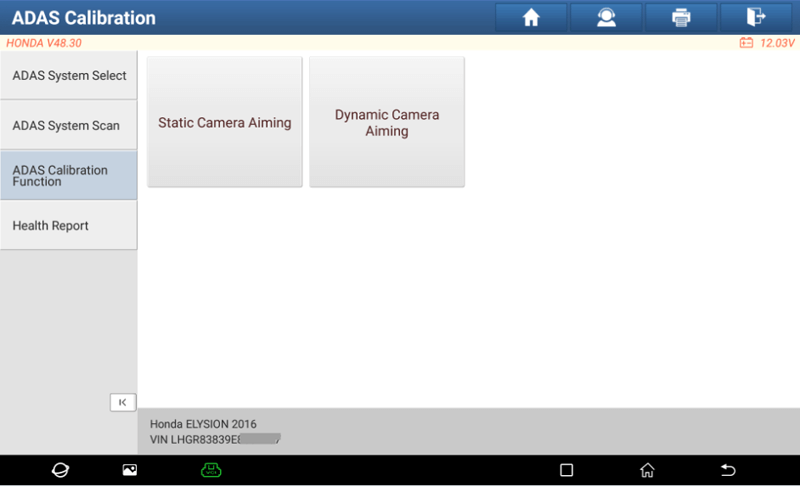
6. Select the "Front Camera Calibration" function, and display the sub-functions: Static Camera Aiming and Dynamic Camera Aiming.

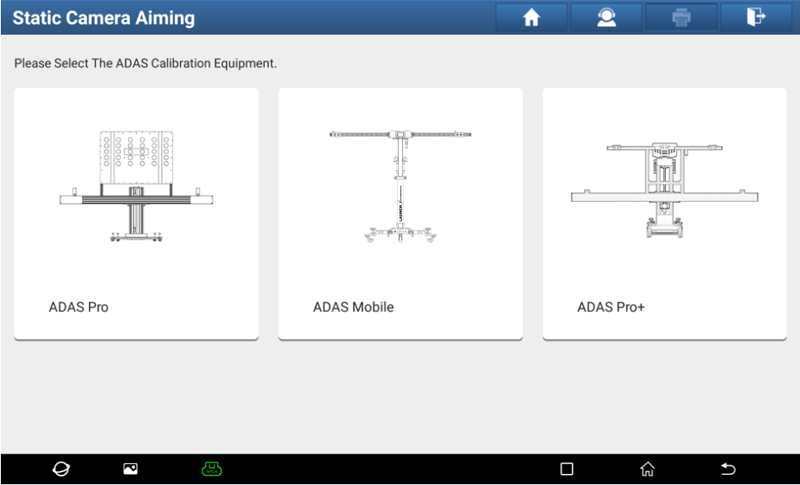
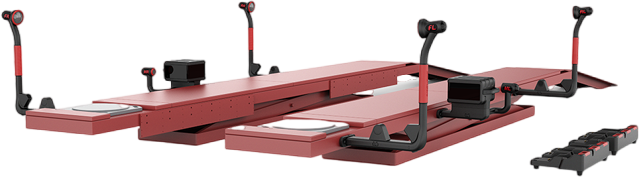
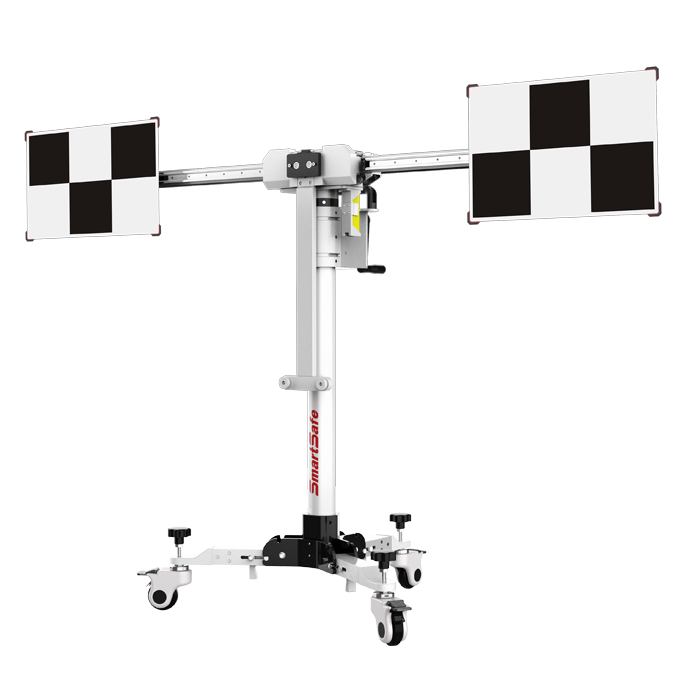
7. Select "Static Camera Aiming", and display different ADAS calibration devices. Select according to the purchased ADAS calibration device, and now select "ADAS Mobile".
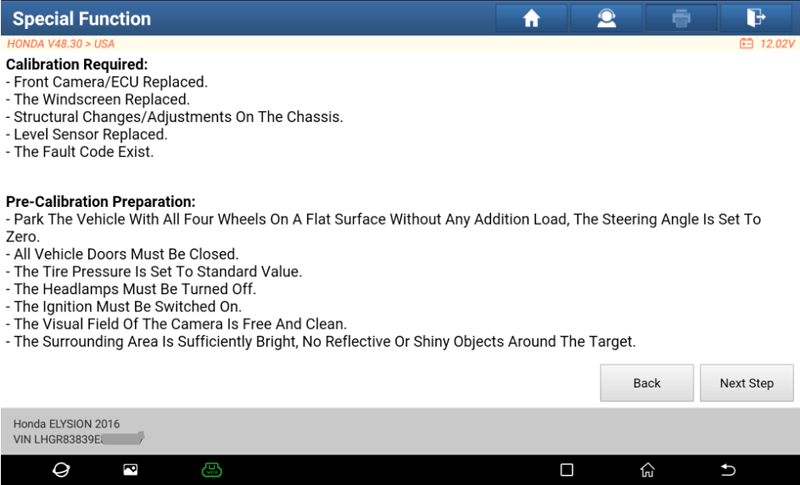
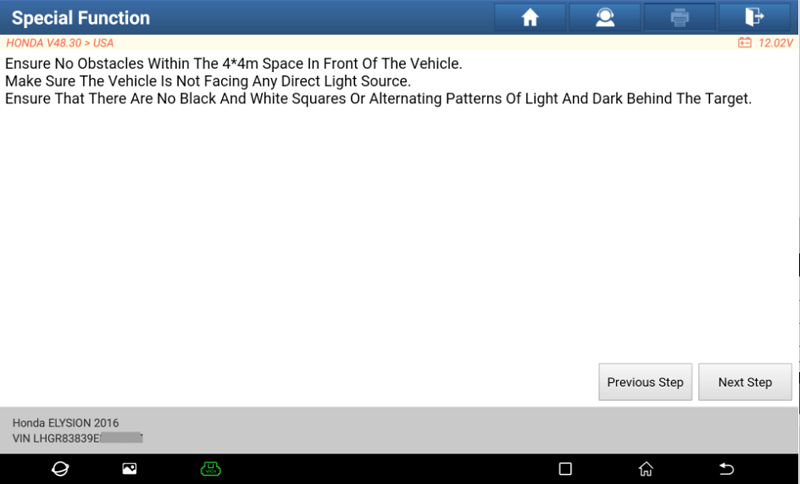
8. Please check the pre-calibration preparation information in detail: fault information, site information, and remove obstacles in front of the vehicle.
9. Click "Next Step" to enter the prompt interface of ADAS target device placement. Click "Set Up" to viewthe placement steps of the target device, and click "Calibration" to execute the calibration function.
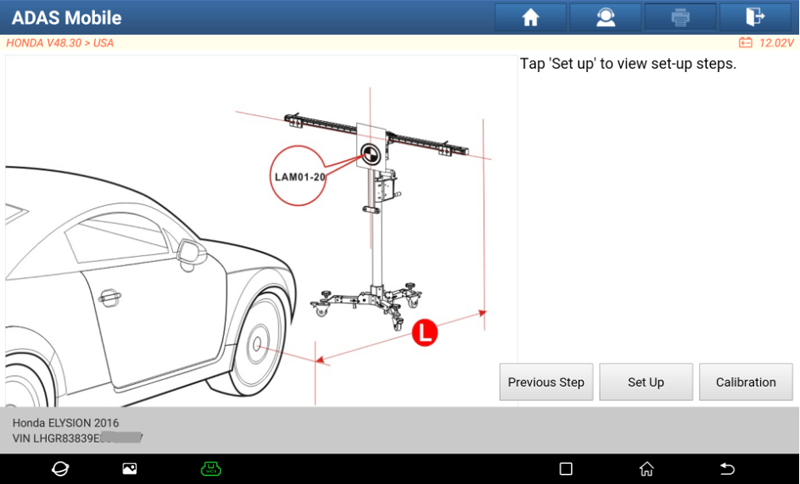
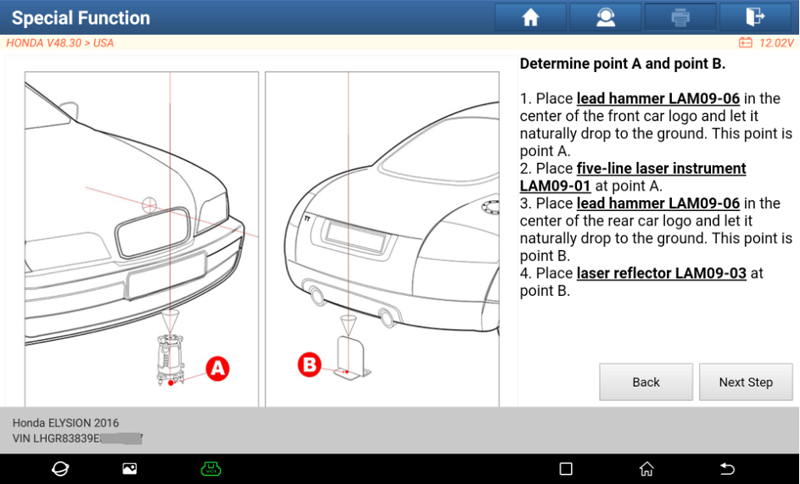
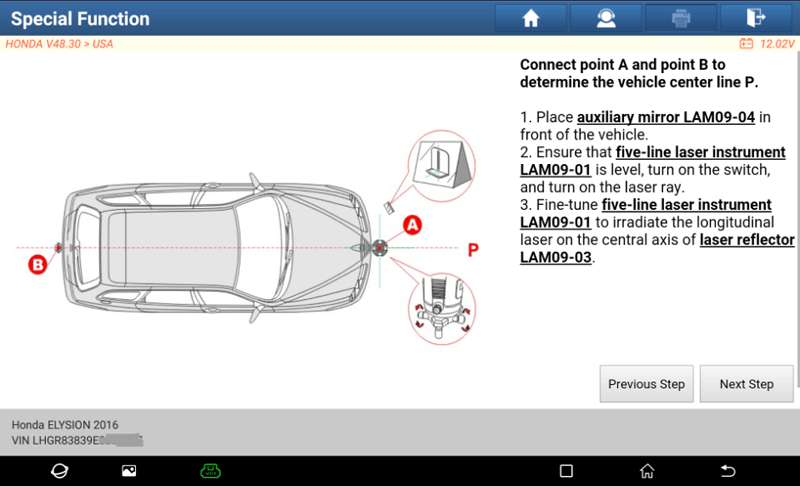
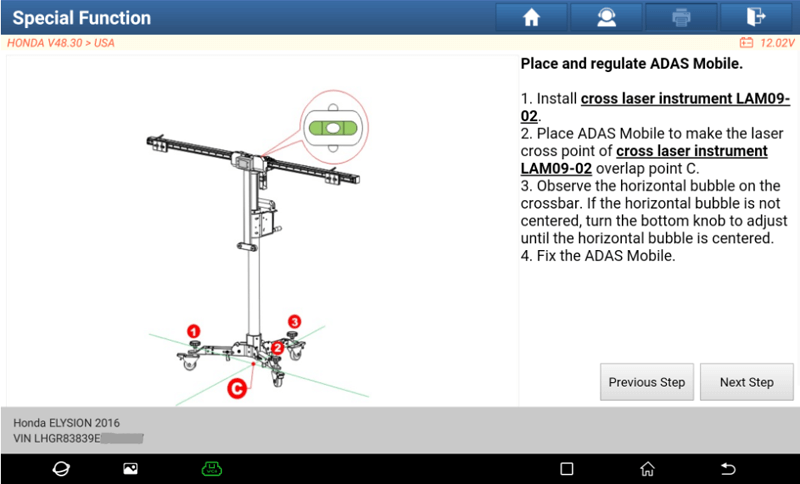
10. Click "Set Up" to view the placement steps of the target device: determine point A and point B, and determine the centerline of the vehicle.
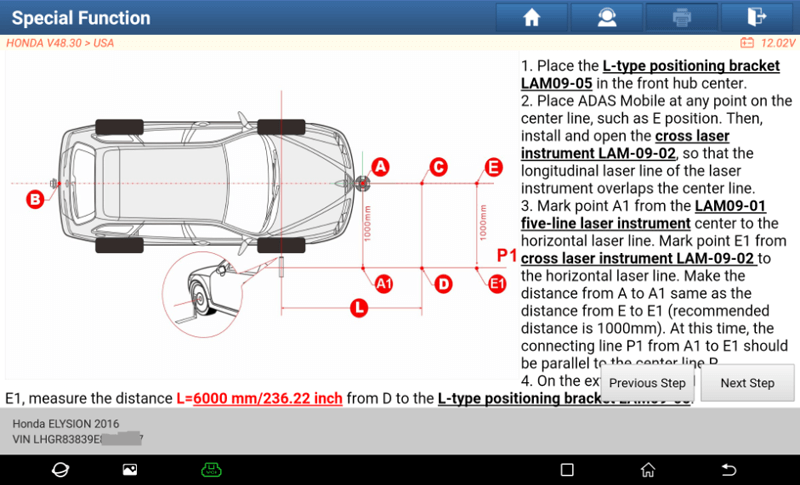
11. Determine the distance of target placement, L = 6000mm.
12. Fixed ADAS Mobile position.
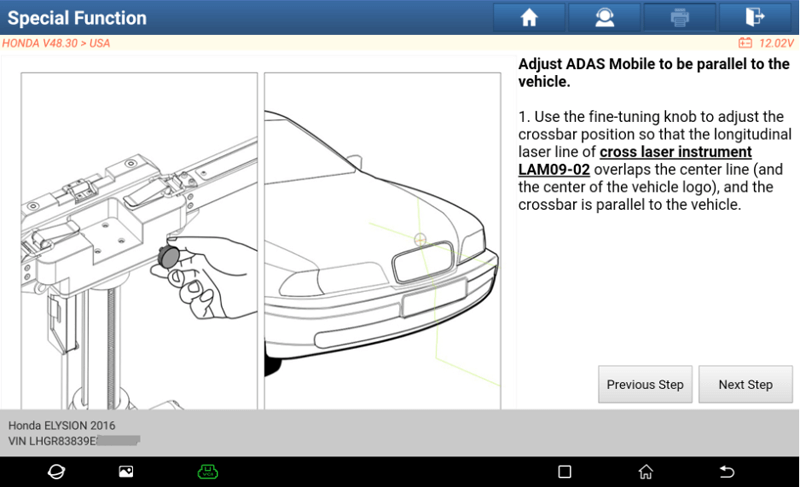
13. Adjust ADAS Mobile so that it is parallel to the vehicle.
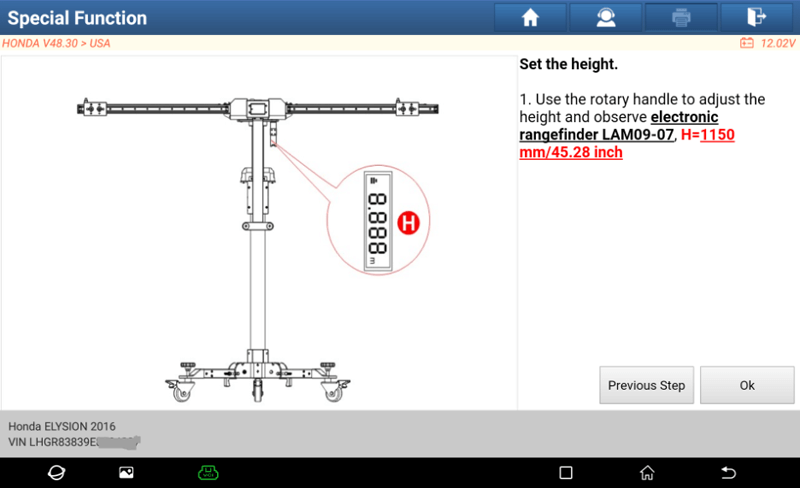
14. Adjust the height of ADAS Mobile, H = 1150mm.
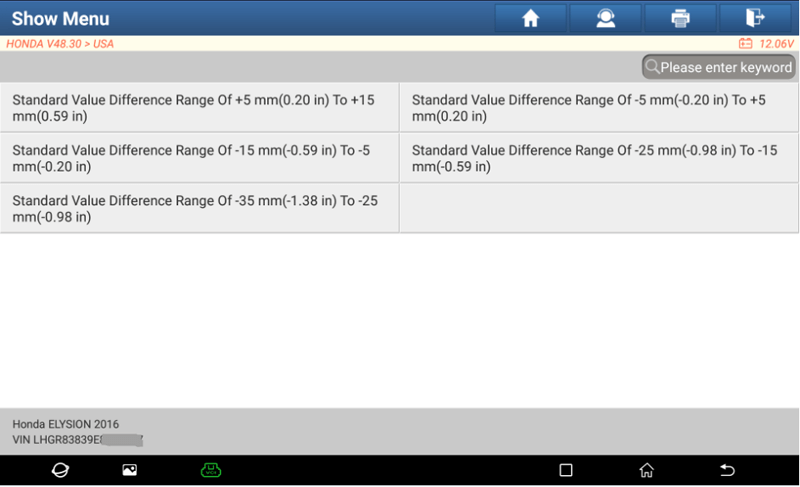
15. Click "OK" to check whether the target device meets the conditions. Display the standard value of the front hub height of the vehicle, measure the height of the left and right front hubs of the vehicle, and calculate the error range from the standard value.
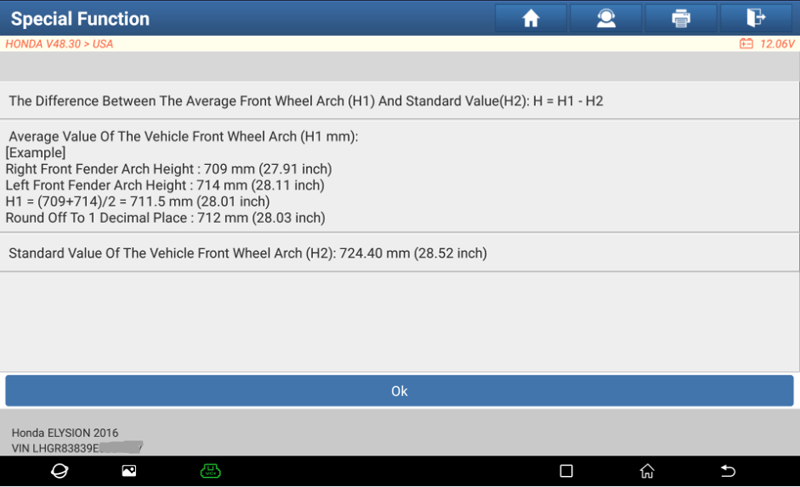
16. According to the error range, select the following menu, such as: -15mm to -5mm.
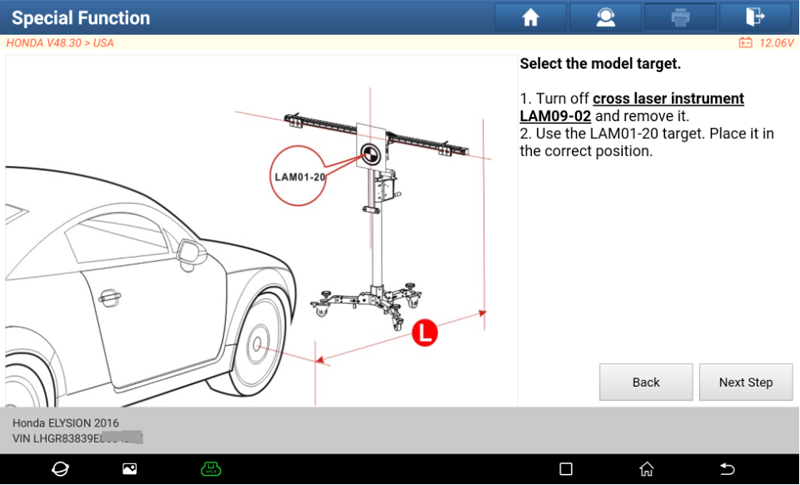
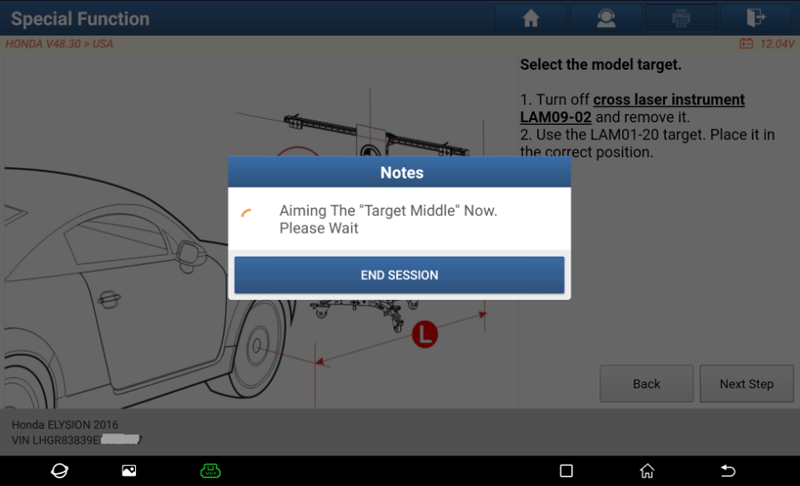
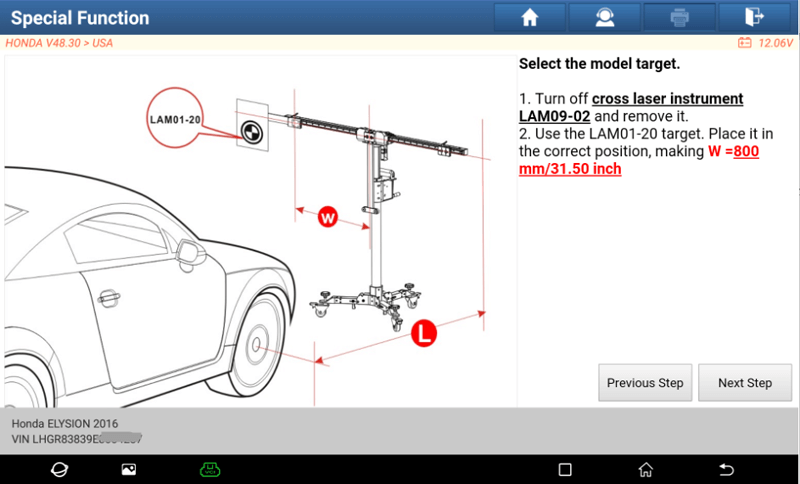
17. Click "Next Step" to start calibrating the intermediate target.
18. The intermediate target is calibrated. Install LAM01-20 to the left side, W=800mm.
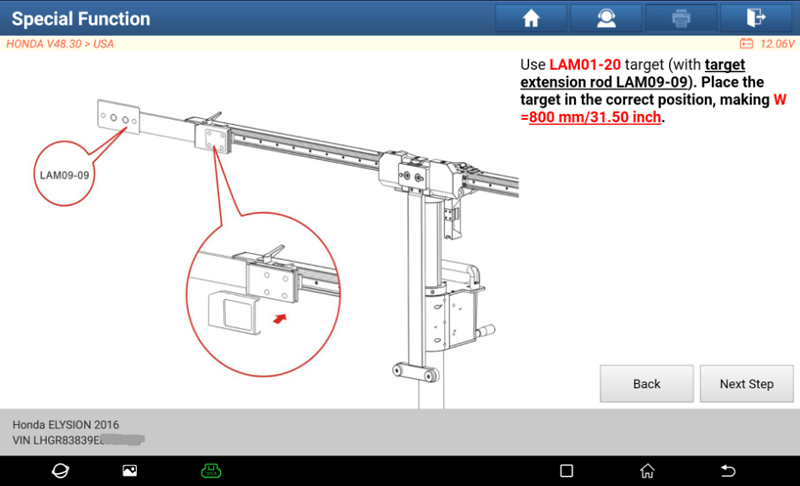
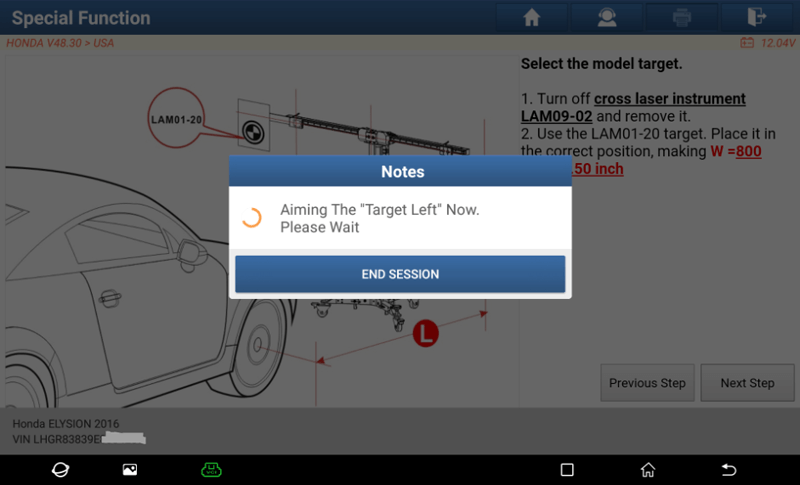
19. Click "Next Step" to start calibrating the left target.
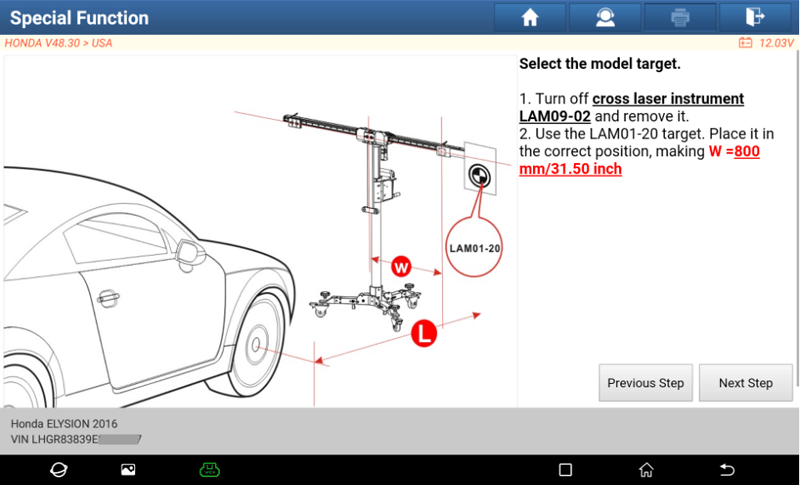
20. The target on the left is calibrated. Install LAM01-20 to the right side, W=800mm.

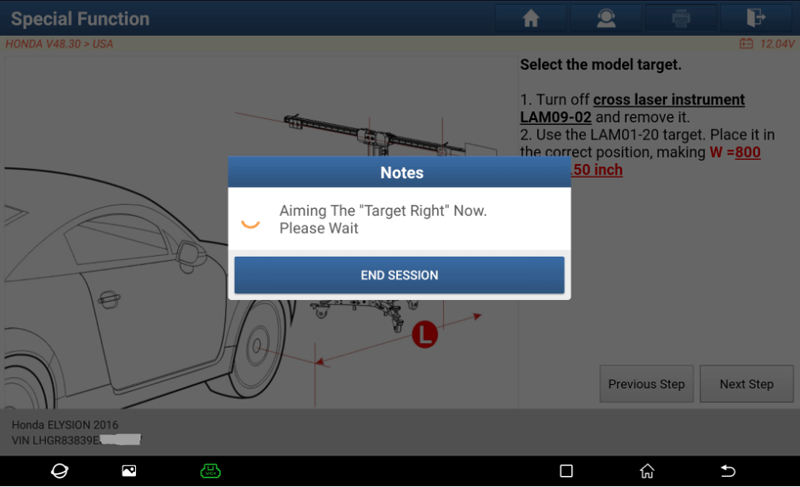
21. Click "Next Step" to start calibrating the right target.
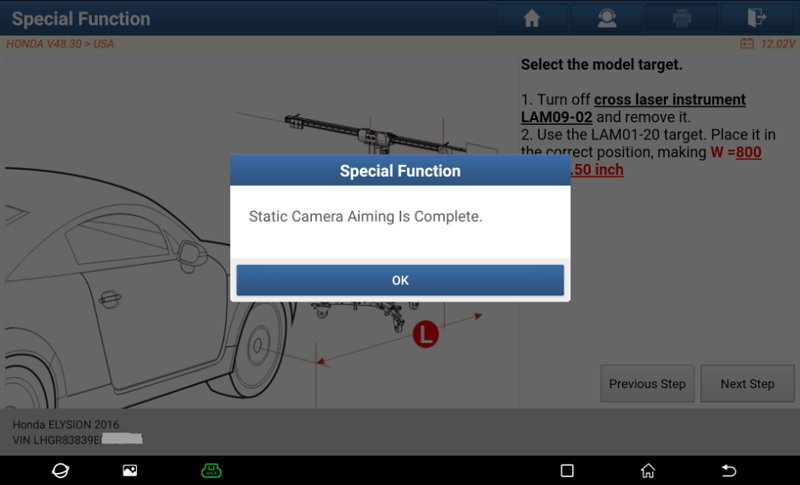
22. The right target is calibrated. Static Camera Aiming has been completed, turn off the ignition switch, then turn on the ignition switch, and check the ADAS report.
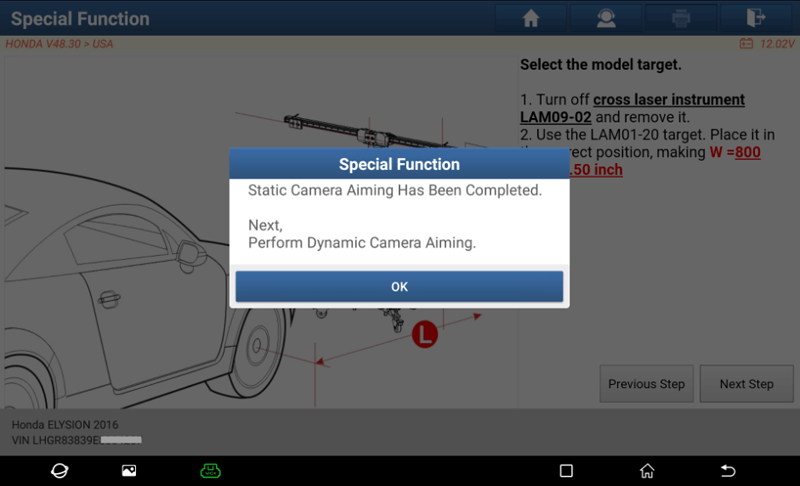
23. Determine whether dynamic calibration is required according to the vehicle. If dynamic calibration is not required, the operation ends.
If dynamic calibration is required, the next step will be prompted to execute Dynamic Camera Aiming.
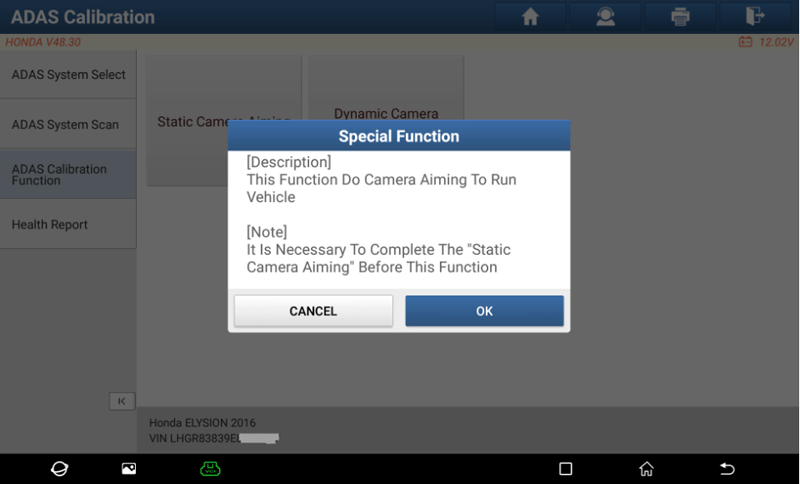
24. Select "Dynamic Camera Aiming".
25. Satisfy the execution conditions of the "Dynamic Camera Aiming" function.
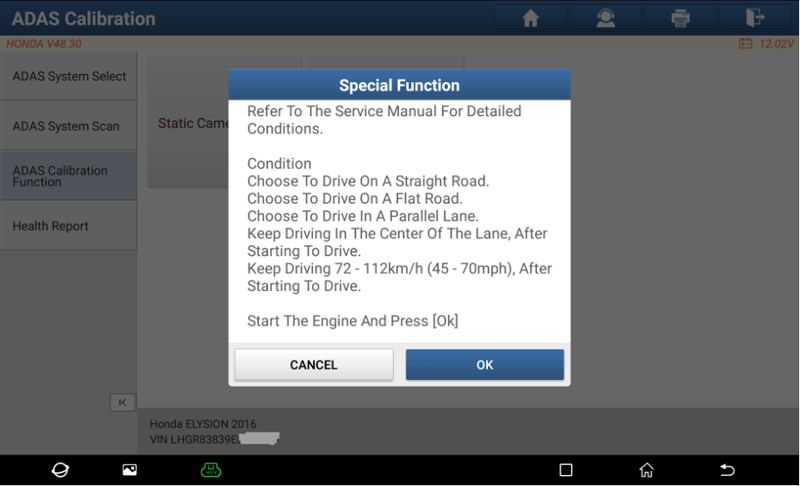
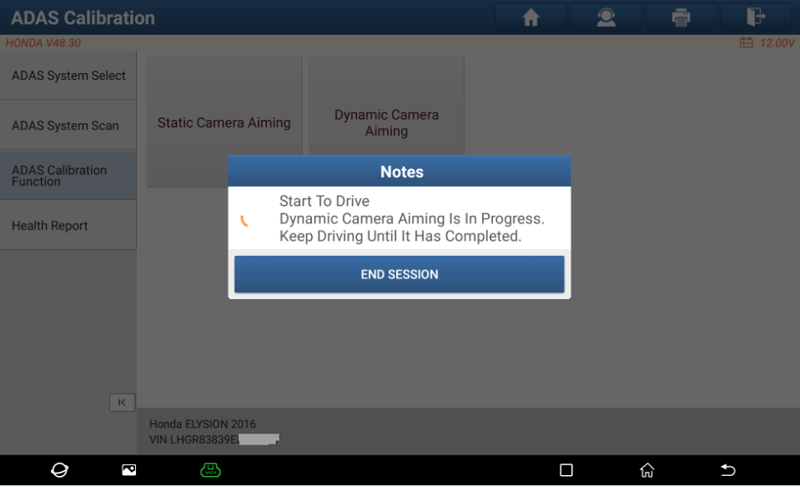
26. Click "OK" to execute "Dynamic Camera Aiming" while maintaining the vehicle driving requirements.
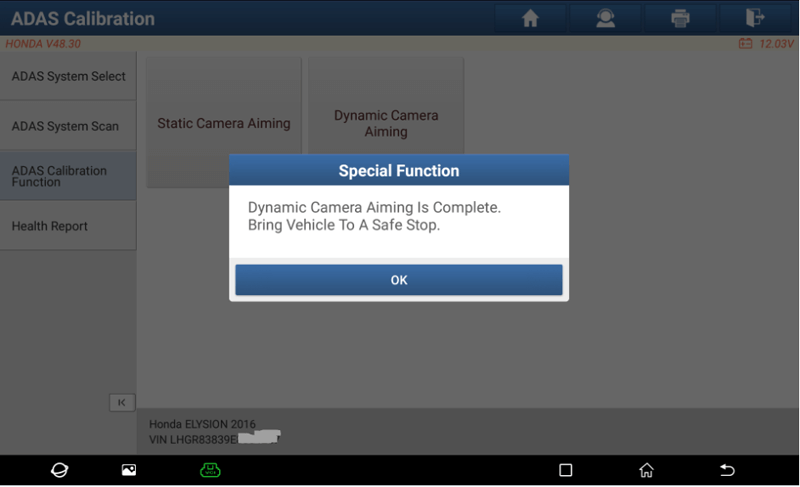
27. Complete "Dynamic Camera Aiming". Park the vehicle in a safe place, turn off the ignition switch, turn it on again, and check the ADAS report.
Return


 VIEW All